Tip for May 2004:
How to Create Realistic Accident Damage
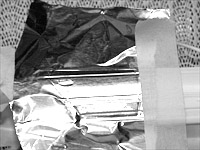
Step 1
Start by placing a sheet of aluminum foil over the part you want to copy. Here, I am going to copy the rear door of this Ford Taurus. Using a Q-Tip, rub the foil against the panel until the the lines stand out sharply (a strip of tape can be used to hold the foil in place while you work).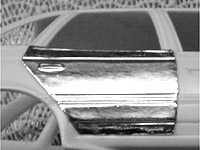
Step 2
Using a new X-Acto blade, carefully cut out the new panel. Make sure you are using a new blade, or the foil will tear as you try to cut it. The finished cut should be a clean outline of the new panel, as shown in the image.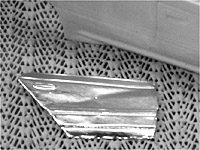
Step 3
Carefully remove the metal panel and damage it. Most damage, like the dent I put in the door here, can be achieved by simply pushing on the panel with any hard object (a bumper from another model kit can work great here). Remove the old panel from the model, and glue your new damaged panel into place with superglue.If the back of the damaged panel will be hidden, you may want to add extra strength to the panel by applying a layer of white glue to the panel on the side that will be hidden. Once the glue is dry, you're done!