Original Kit:
Greased Lightning '48 Ford
Made By:
Revell (kit #85-4443)
Scale:
1/25

Other 1970s Movie Models
Gone in 60 Seconds Eleanor Mustang
Dirty Mary, Crazy Larry ‘69 Charger
The Cars that Ate Paris VW
The Man with the Golden Gun AMC
Star Wars Luke‘s Landspeeder
Duel Peterbilt Tanker
The Spy Who Loved Me Lotus
Grease White Lightning
Jaws Blazer
Other Music Models
The Night is Still Young Lamborghini
Little Old Lady from Pasadena Dodge
Adderall (Corvette Corvette) C8
OutRun Testarossa
ZZ Top Eliminator
Circles Around this Town Dodge
Elvis ‘56 Eldorado (Review)
Hatsune Miku
Driver's License Mercedes-Benz 450 SL
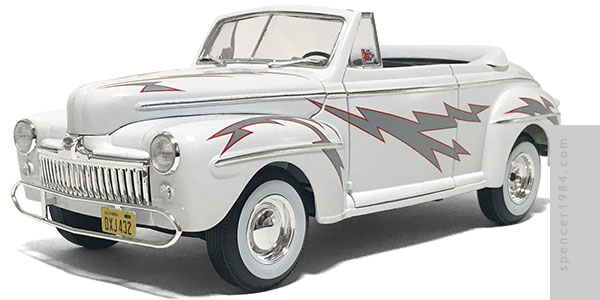
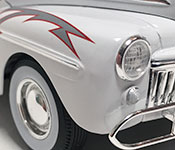
As mentioned over in my Karate Kid build, I had plans to build the "White Lightning" for some time but was quite happy to have Revell save me some scratchbuilding. The quality was just as good here as it was on that earlier release, and Revell's excellent engineering and my familiarity with the process made it a pleasure to work on.
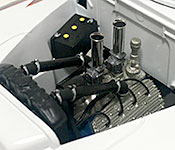
One place I did make some changes was the engine. I kept the base flathead, but added carburetors and finned heads from Replicas & Miniatures of Maryland, an intake manifold from my parts box, and a set of scratch built headers and dual exhausts to make it more performance-oriented. The new manifold meant that the generator and fuel pump needed to be modified to fit, but the stock radiator hoses fit the new heads perfectly, so no other modifications were needed. The custom mill was then topped with a set of velocity stacks made from crimp tube,
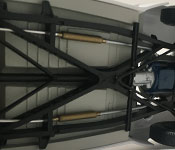
Another modification I made was adding a spacer betweeen the rear spring and crossmember. This both gave the car the slight lift seen in the movie, plus it helped counter the chassis twist I noticed in the previous build by giving a little more flexibility to the rear axle. Speaking of notes from last time, I attached the bumper brackets early in the build, and can confirm that it was far less of a headache doing it this way instead of following the instructions. The wheels were out of the kit, but rather than use the stock hubcaps I used the Baby Moons from Polar Lights' VW kit.
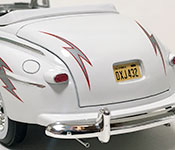
My final modifications were to the body, where I shaved the door handles and made the recessed rear license plate holder. The door handles lined up with the side trim, so that simply leaving them off meant gaps near the trailing edges of the doors. I fixed this with small sections of rectangular stock, carefully trimmed and sanded to blend in with the rest of the door trim. For the rear plate, I measured and cut an appropriately-sized hole in the trunk lid, then laminated a piece of styrene to the inside of the body. By keeping my cuts clean and using thin styrene that could easily conform to the inside curve, I was able to make the back of the pocket with almost no filler needed.
The rest of the build was nice and straightforward, requiring only the usual work to remove the parting seams from the body and make sure everything was seated correctly. Trim was done with a mix of Bare Metal Foil, Molotow Liquid Chrome, and paint. The body was painted TS-26 Pure White, the interior was TS-29 Semi Gloss Black, and the chassis was a mix of TS-29 for the frame and Model Master 2910 Sand Beige for the floor.
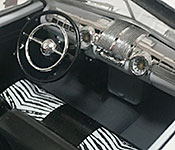
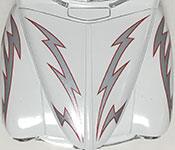
I used the kit-supplied decals for the body and interior, which were very nicely printed but had some *very* strong adhesive, making them very difficult to fine-tune their position once they were off the backer. It was the one problem I had with the entire build, but with enough water and Micro-Sol I was able to get them where I wanted them.