Original Kit:
Batman & Robin Batmobile
Made By:
Revell-Monogram (kit #85-6724)
Scale:
1/25

Other Batmobile Models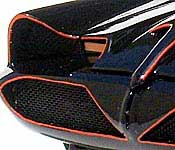
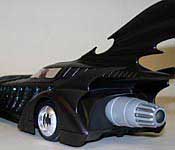
2017: The LEGO Batman Movie (v2)
2015: Arkham Knight (Review)
1964: Batman #164
1987: Batman #408 cover
1987: Batman #408 interior
2022: The Batman (Review)
2005: Batman Begins/The Dark Knight
1995: Batman Forever
2017: The LEGO Batman Movie
2004: Teen Titans #9
1972: Detective Comics #420
2005: Batman/Danger Girl
1980: Batman #330
1950: Detective Comics #156
Other 1990s Movie Models
The Fifth Element Flying Taxi (Review)
Short Time Dodge Diplomat
Wheels of Terror Charger
Knight Rider 2000 Knight 4000 (KIFT)
Toy Story Pizza Planet Truck
Tomorrow Never Dies 740iL (Review)
Tommy Boy Plymouth GTX (Review)
Jurassic Park Jeep Wrangler
The World is not Enough BMW
Dick Tracy Coupe
Blade ‘68 Charger
Batman Forever Batmobile
The Chase 325is
Wayne‘s World Pacer
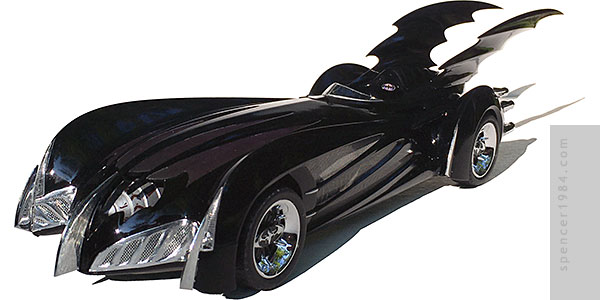
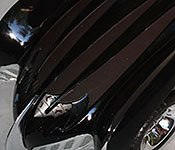
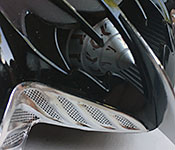
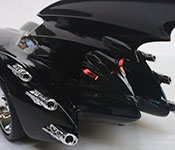
This is my second go at building this kit. The first try was about 20 years ago, shortly after the movie came out and I was hell-bent on "fixing" it (regardless of my actual abilities at the time). But a lot has changed since then, including said build being recycled for parts, so it was time to revisit the idea. After a lot of back and forth, ideas formed, considered, and discarded, and a few discussions among friends, I finally had a course of action.
Most of the model was built box stock, aiming for a clean "powered down" version of the car without all the lights and whatnot, a bit like what I did for the Ecto-1A. The only real change this necessitated was a reprint of the cone decals in a darker red. The rest of the changes and upgrades I made were to add some extra detail to what Revell gave us.
First up was the cow catcher. I first tried to open up the grilles, testing the idea on the old part I still had. I'm glad I did, because the shape and thickness of the part made it too fragile to handle once the holes were cut. So I went with Plan B: Bare Metal Foil the panel, then make some decals for the grilles. This worked much better, with only a couple of losses as I tried to get the smallest decals into place (good thing I always print extras). For a little contrast, the panels around the cone were painted Model Master Buffing Metalizer Titanium. The hood panels were some more custom decals, printed as a purple to black gradient and then Dullcoted before being applied. These weren't quite as flawless, but still worked pretty well.
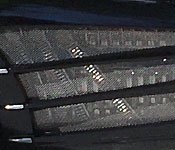
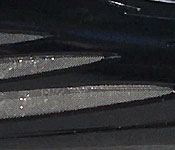
The side panels of the 1:1 Batmobile weren't open like they appear on the model, but were instead covered in a fine mesh. I really liked the look, plus it seemed like a smart idea to have some extra protection there, so I got two sheets of Hasegawa's PA-23 hexagonal mesh and cut them to fit the six openings. My first plan had been to simply use one sheet for each side, but that would have wasted a lot of material plus I couldn't guarantee that the opening would be totally covered. This was a little extra work, but was worth it in the end. Because the mesh partially obscured the chrome panel details, I painted only a few parts with solid, bold colors so they would still be visible.
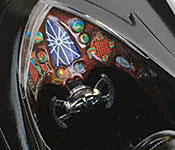
The dashboard of the 1:1 is a strange orange-red plastic. I attempted to capture the general look if not the exact color by stippling Testor's Stop Light Red over the gloss black basecoat. Once that was dry, I applied the kit-supplied decals plus one custom decal I made for the center panel. The one provided in the kit didn't look much like what was in the movie car's dashboard, but was an easy one to replace.
The only other upgrade the kit needed was to the chrome bumpers, which were great on once side but badly finished on the other. I sanded off the bad side of each one, then redid the chrome with a combination of chrome vinyl and Bare Metal Foil. Other details like the small side spears were finished using Molotow Liquid Chrome. The rest of the car was painted Tamiya TS-14 Black with a shot of clear, then lightly polished and waxed.