Original Kit:
Time Machine from Back to the Future Part I
Made By:
Aoshima (kit #06436)
Scale:
1/24

Other 1980s Movie Models
Blade Runner Spinner
Tucker: The Man... Tucker (Review)
Batman Batmobile
Sharky‘s Machine Dodge Diplomat
Transformers Optimus Prime
Ghostbusters Ecto-1
Christine 1958 Plymouth Fury (Review)
Christine 1977 Plymouth Fury (Review)
Cobra Mercury
Rain Man Buick Roadmaster
Gremlins VW Beetle
Mac and Me Power Wheels
Ghostbusters Ecto-1 (Review)
Star Wars Speeder Bike (Review)
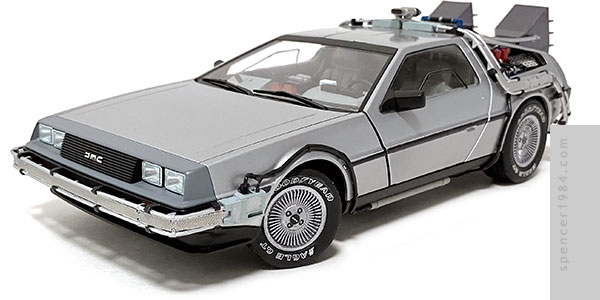
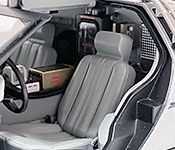
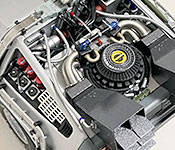
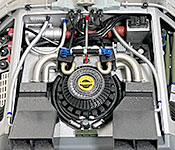
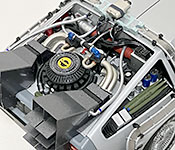
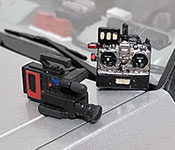
Way back when this site launched in 1998, one of the first models I posted was the Back to the Future II DeLorean time machine. It was, I believe, the first time I had ever built an Aoshima kit and among my earliest purchases from HobbyLink Japan. While the kit was nicely done, my lack of skills and resource material (limited to a VHS copy of the movie and a few low-res screencaps posted online) meant that the end result was...OK. Certainly room for improvement.
As the years went by and the old model started looking a little worse for wear, I considered revisiting the project. I was especially intrigued at the idea of making a "first appearance" car by combining the Aoshima and Polar Lights kits, but Welly had released their set of time machines and so it never got very high on my priority list.
Then in early 2024, Aoshima announced an all-new tooling of the DeLorean. Nothing about it was based on the old kits, it was to have all kinds of details and special features, and was exactly the kick I needed to stop thinking about a new Back to the Future project and actually do it. I nabbed one - along with Aoshima's own metal parts upgrade set - and got to work on it straight away.
First thing, this is very much not a beginner kit. Almost every greeble on the back deck and inside is separate: every box, every cylinder, every hose, every control panel. The rear vents are each over a dozen pieces if you count the three separate hoses going to each. The interior has more parts than some entire kits. Even the wiring is all cast separately. The fit and finish on all these parts is beautiful, but there are so many tiny parts that it can try anyone's patience. Given how intricate the kit was, I wanted to go as close to box stock as possible.
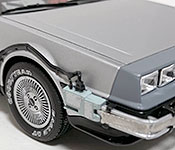
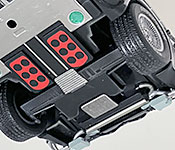
Things started well, with a nicely detailed chassis that included working steering and detailed suspension parts. I used some BMF to highlight Doc's new panels, and the green lights were given a thin coat of PVA glue to act as lenses. My only change was the addition of Goodyear/Eagle GT outline letter tire decals from Fireball Modelworks.
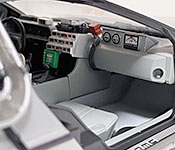
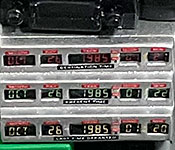
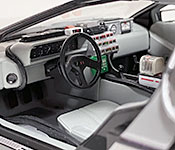
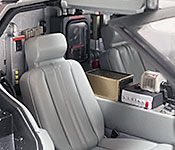
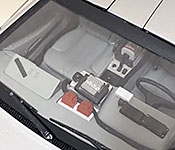
The interior started the real "wow" factor with multi-piece wiring and - most impressively for me, at least - decals with fully legible readouts for the gauges and time circuits. Even the Dymo labels and VIN tag were included as decals in the kit. The only trouble I had was of my own making: I dropped the Time Circuit Control and broke off the handle, so I replaced it with the handle from the old Aoshima kit. The carpeting was done with several light mist coats of Duplicolor Filler Primer, and the gray plastic components were painted Tamiya AS-32 Medium Sea Gray. The rest of the interior used several shades of neutrals and metallics, with a light weathering around the edges to give it some shadow effects.
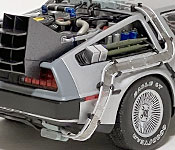
Unsurprisingly, the rear deck and bulkhead were the most complex subassembly. It was also where Aoshima really got to show off - not just with casting quality, but with their research of the original prop car. With so many more resources available now, it's easy to compare the two and the kit acquits itself nicely. Every line, box, and heat sink can be matched up to something on the original time machine. I replaced the grate in the left rear corner with the photoetched piece from the detail set, but that was all I used thanks to a mispacking of the set I received. Fortunately, the plastic cylinders were perfectly acceptable and looked great once painted: TS-74 Clear Red over silver for the left three, and TS-89 Pearl Blue for the right two. The main deck was painted Testors 1246 Silver, the rear vents were TS-38 Gunmetal, and the rest of the details were painted with as many metallic colors as I could find to add a little variety.
The body was pretty clean straight out of the box, needing only the support trees and a few minor parting seams removed. Once it was prepped, I painted it AS-12 Bare Metal Silver with TS-99 IJN Gray for the nose/tail and TS-29 Semi Gloss Black for the grille, bumper strips, door jambs, and roof pillar details. The rockers and splash pans were originally done in TS-29 as well, but in the interest of making them look slightly different from the chassis and bumpers I redid them in Krylon "Decor Selects" Matte Black. Wipers, glass, and lights all went together without drama, though the headlights look a little too new up close. Without the expected cast-in lines, they look less like the old sealed beam headlights and more like modern lights with bulbs and clear lenses. I toned these down with some custom decals printed with a faint Fresnel pattern.
Once the major subassemblies were pulled together, I discovered another and completely unexpected problem: the interior didn't completely close at the back corners, so if you caught it at the right angle you could see gaps clear through to the rear wheel openings. Given how flawlessly everything else fit together it was surprising...but it was also an easy fix. I cut two small filler panels from 0.020" (0.5mm) styrene sheet and painted them interior gray. Once installed, the interior looked good and solid.
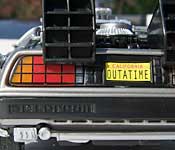
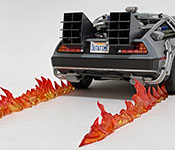
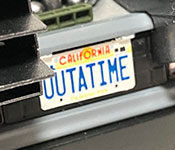
At this point, all that was left was the external wiring and conduit. These were always weak spots on prior 1/24 replicas...the wiring was always cast in, and the conduit bands never quite captured the look of the perforated metal on the prop car. Aoshima sidestepped both of these by making them separate parts, and included a set of photoetched bands to use in place of the clear plastic parts supplied in the kit. These were probably the single biggest selling point of the whole kit, and while they were a royal pain to get shaped and installed the end results were well worth it. Way up top, the Tachyon Pulse Generator is a replacement part from the old Aoshima kit - originally because I needed a stand-in after I dropped the original piece and couldn't find it, but after it showed back up I decided I liked the look of the older one better. The final detail was a custom "OUTATIME" license plate I made to replace the not-quite-accurate one that came in the kit.