Original Kit:
'68 Dodge Charger R/T 2'n 1
Made By:
Revell (kit #85-4202)
Scale:
1/25

eBayPartner Affiliate Link
Other Charger Models
Other 2000s Movie Models
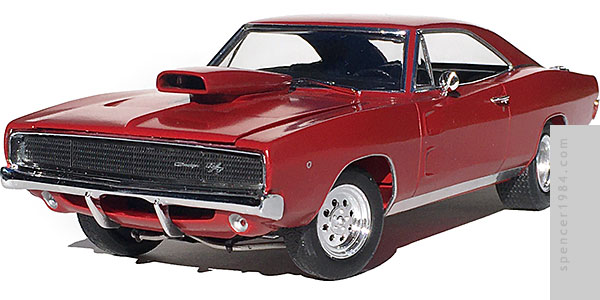
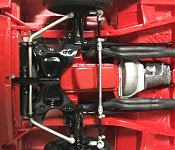
Most of this was a fairly straightforward build of Revell's well known Charger kit. At least, most of said kit. I completely forgot that I had taken the '68 Body out of this kit for my Agents of S.H.I.E.L.D. build until I had the box open. Fortunately I still had that '69 shell left over, so I was able to simply finish the swap and had no further body-related problems whatsoever (foreshadowing intensifies).
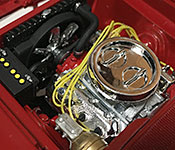
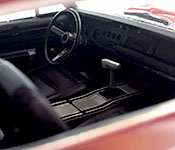
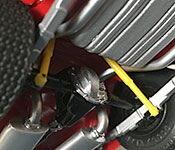
The interior was entirely box stock, using the optional T-handle shifter from the kit. I toned down the bright chrome with some semi-gloss clear, and painted the rest of the details silver to match. The engine was only slightly more difficult, using the optional headers, intake, and air cleaner from the kit. I usually don't keep all the chrome bits included for the engine, but this time I decided to go the other direction and add some extra chrome bits with Molotow Liquid Chrome to represent an aftermarket dress-up kit. I also added ignition wires and looms, and a pair of Detail Master flanges were used to mate the performance headers to the exhaust pipes. Other than modifying the pipes and doing the usual rear axle shift, the rest of the chassis went together box stock. To continue the "dress up" look from the engine bay, I used bright metallic colors on many of the smaller parts including more Molotow on the differential cover. The wheels were from Revell's '57 Chevy Funny Car, modified as I did with my Drive Chevelle.
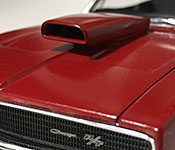
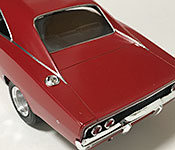
The body needed relatively few modifications. Since I was using the '69 body, I filled in the corner marker lights and sanded off the vinyl top texture. The hood scoop came from a Revell Beretta Pro Street model, and was mounted to a scratch built riser. The kit's performance air cleaner was meant to fit under the wide Six Pack-style hood scoop, so since I was using a narrower design I also had to relieve a little bit of the underside of the hood to provide clearance. With all the prep work done, it was now time for paint.
In the movie, the Charger appears to be dark red. Not really maroon, or candy apple, but dark red. I didn't have anything in my selection the was an exact match, nor could I find any information about what the movie car was actually painted, so I decided to go with Exo Rust's "Fiesta Red." It's a nice shade, and I had already used it on the chassis and engine. But apparently it'd been a while since I used a large rattle can, and I misjudged how much paint was left. I got the hood covered completely, and was about 80% done with the body when the can ran dry. I attempted to finish the job with a second can, but the delay in getting the new paint allowed the early coats to dry and there was an ugly color shift where the old paint ran out. I hated to do it, but the body had to be stripped and started over. Into the Purple Power jar it went, where it lived until the old paint had finally disappeared.
Back to more or less raw plastic, I touched up the filler around the marker lights and re-shot the paint. It went on much better this time, but Exo Rust is slow drying so it was quite a while before I got back to work on it. Once I did, I took care of the trim using a combination of Bare Metal Foil, aluminum repair tape, Molotow Liquid Chrome, and silver Sharpie. Other final details include a pair of crimp sleeves for the exhaust tips and a custom rear license plate.