Original Kit:
Evangelion NERV Official Business Coupe
Made By:
Hasegawa (kit #52259)
Scale:
1/24

eBayPartner Affiliate Link
Other Cartoon & Anime Models
Other 2000s Movie Models
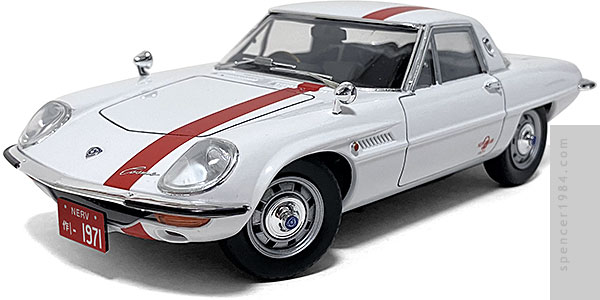
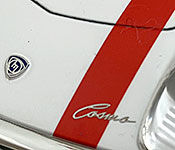
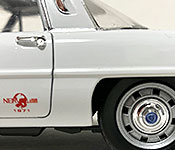
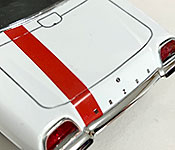
After her Renault Alpine A310 was damaged in Rebuild of Evangelion, Misato switched to a first-gen Mazda Cosmo Sport dubbed the "NERV Official Business Coupe." Hasegawa already had a 1/24 Cosmo and a history of repopping old kits with pop culture tie-ins, so it was no surprise when they released their kit with updated box art, a new decal sheet, and an Asuka Langley Shikinami figure. As is typical for the company, the kit is a curbside with some nice "upgrade" details included.
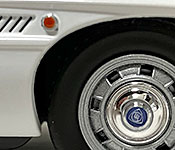
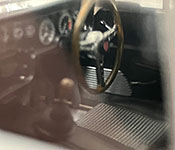
The chassis had separate parts for the front and rear suspensions, separate exhaust pipes, and nicely detailed wheels with separate hubcaps and brake parts. As is typical for these kits, the front wheels can be steered once assembled. The interior was built directly on top of the chassis, complete with kit-supplied carpet material. Although it was precut, the fit wasn't brilliant so it took some massaging to get it installed in a way that looked halfway decent (not that you can see much of it once the car is buttoned up). The houndstooth seat insert decals were good, though again there was a bit more work to get them lined up than I expected. The steering wheel rim and shift knob were painted with multiple browns to get a woodgrain effect, then clearcoated with Tamiya TS-73 Clear Orange to look varnished.
The body was likewise pretty straightforward. Some parting lines had to be cleaned up owing to the curvy body, but they were pretty minimal. The only tricky part was the grille, which was supplied as a rectangle of vinyl mesh that had to be cut out based on a template provided in the instructions and then held in place with a frame cast as a part on the clear parts tree. Given vinyl's tendency to warp and be resistant to many glues, I decided to use aluminum tape to hold it to the frame before gluing the subassembly in place. This worked great, with none of the headache I feared I may be in for.
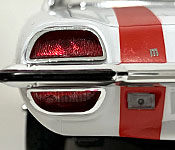
Paint was Tamiya TS-26 Pure White over white primer, buffed and finished using Tamiya's Dark Gray Panel Line Accent around the doors, hood, and trunk. Kit-supplied decals were used for the stripes and door markings, and while most of them went one with no problem they did require some trimming and a fair amount of Micro Sol around the cowl vents and rear light. Paint was used to touch up where they didn't quite cover in these particularly complex areas. The chrome badges were kit-supplied transfers, and the rest of the trim was done using a combination of BMF and a chrome Gundam Marker. Finally, license plates were provided but were a bit too fragile and had to be replaced with my own custom prints.