Original Kit:
N/A
Made By:
N/A
Scale:
1/24

eBayPartner Affiliate Link
Other Cartoon & Anime Models
Other Video Game Models
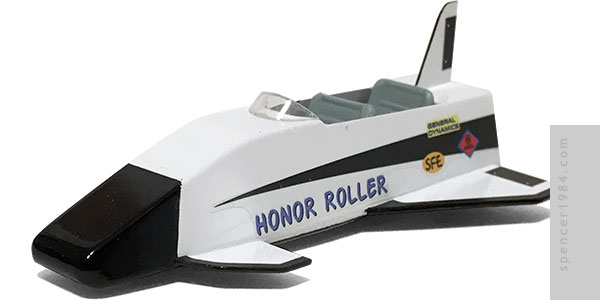
After I finished the Family Sedan, I had to decide what the next Simpsons vehicle ought to be. The Canyonero? The Homer? Mr. Plow? So many great options, all equally interesting. I finally decided to follow the order established by what remains one of my all-time favorite video games, The Simpsons: Hit & Run. The Sedan was the primary car used in the first level, so next up ought to be the Honor Roller - Bart's vehicle from level 2, first seen in the season 3 episode "Saturdays of Thunder." Now I just needed to figure out how to pull it off.
My first idea was to find a toy space shuttle and modify that, but the more I looked at it the more I realized that the Honor Roller was only vaguely shaped like the orbiter - it was really little more than a tapered brick with wings. The only way to really do it was as a full scratchbuild.
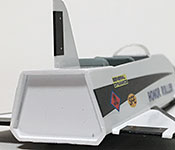
I started by getting some specs from various soapbox racer associations, which gave me the size to shoot for. I then cut a base from 0.040" sheet styrene, since it was thin enough to suggest plywood but hefty enough to provide support. I then cut a pair of bulkheads from the same styrene, and started building up the rockers. The main sides were cut from 0.020" styrene to take advantage of the better flexibility, with short sections near the back doubled up to create a consistent 0.040" wall thickness at the rear bulkhead. Finally, the top was made from both 0.020" (forward) and 0.040" (rear) sheet, and the nose was capped off with a cut-down length of styrene rod. This assembly was left to dry overnight, then it was filled and sanded to create the streamlined fuselage. The wings, canards, and tail were all cut from scraps left over from making the fuselage, then glued into place with liquid cement for a good strong bond.
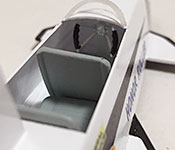
There wasn't really much of an interior - the driver is essentially ballast, after all. But it was decision time: up to this point the racer used pretty much the same design between show and game. The seating arrangement is where things really split, with the show car having the traditional single seat and the game having tandem seats. I had a pair of seats from an old 1/32 Monogram Snap-Tite Corvette that were too perfect to not use, so tandem seating it was. I cut these down to fit the height of the racer, and made a steering column from styrene stock with the yoke from a Revell dragster. The seats were painted AS-5 Light Blue and the yoke handles were painted satin black, everything else was left white or chrome.
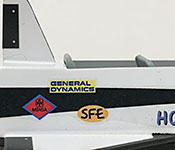
Assembly done, there were just a couple more details to address. The wheels are short arcs cut from rubber O rings, glued to the underside to represent the thin tires usually seen on these racers. The windscreen is a cut-down sectiion from an old model airplane canopy. I did not add the lights or doors seen in the game, keeping those details closer to the show version. It was painted Tamiya TS-26 Pure White, then the nose was masked off and painted TS-14 Black. The rest of the markings were done with paint, ink, and a set of custom made decals I drew up.