Original Kit:
The Beverly Hillbillies Truck
Made By:
AMT/Ertl (kit #31753)
Scale:
1/25

eBayPartner Affiliate Link
Other 1960s TV Models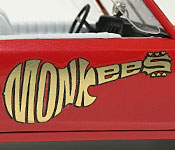
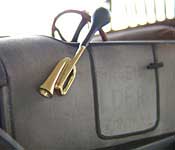
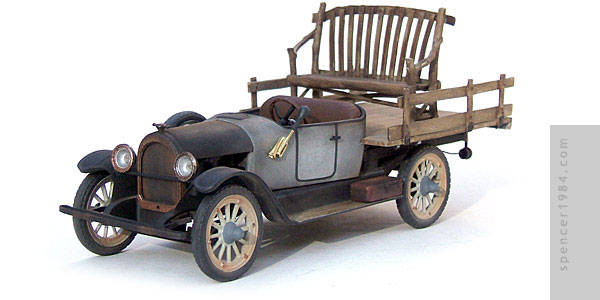

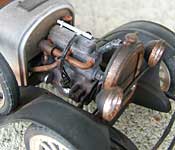
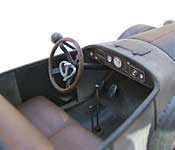
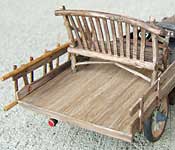
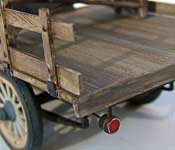
This model was quite a change from what I usually build. Not only did I learn quite a bit about cars from the '20s while working on it, but I also got to try out some more advanced weathering techniques. The bulk of the model is only a handful of colors: flat black, gull gray, red primer, and gray primer. All of the variations are done using chalks, pastels, colored pencils, and oil paints. A few other colors did sneak in, but these extra colors were just for small details.
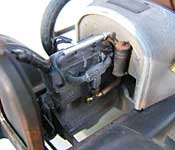
I started with the chassis. The frame, suspension, and engine were assembled and painted flat black. The engine was then heavily dusted with blue chalk to create the appearance of an old, faded paint job. The rest of the chassis was weathered with lighter neutrals and rust streaks, and a touch of gloss black around parts of the drive shaft to indicate grease leaks. The engine was cast with the flywheel exposed, so the edge of the wheel was touched with graphite to look like more recent wear. The wheels were painted gull gray with gray primer hubs and grimy black tires.
Once the rolling chassis was complete, I moved on to the body. The main shell was sprayed with gray primer, then masked off and sprayed flat black for the trim, cowl vent, and interior panels. The fenders, hood, bumper, and headlight brace were also sprayed flat black. The running boards were hand painted gull gray in preparation for later woodgraining. To recreate the old Fontana feed store text on the sides, I lightly drew the letters directly onto the body with a colored pencil. Then everything was heavily weathered to blend everything together.
The last major part of the kit to be assembled was the rear deck. This was first painted flat black (along with the deck support), then masked off so that the top side could be painted gull gray. The bench and rails were painted at the same time. Once these were dry, I used a wash of burnt sienna and burnt umber oil paints to create the wood grain effect. I liked the way it turned out, so I applied the same technique to the running boards, dashboard, and steering wheel rim.
I didn't add a lot of extra detail to the kit: some engine detailing (including a set of ignition wires made from glue-coated threads) and the mechanical brake linkage are about it. There was, however, a lot of cleanup required. This tooling hasn't aged well, and there were a lot of misshapen parts, ejector pin marks, and general flash that needed to be addressed. Some of this was relatively easy: sanding sticks and Tamiya putty were all that was needed to correct the frame rails. But other parts had to be replaced altogether. These included the brake rods on the rear axle, the steering column, and the exhaust pipe. the latter was scratchbuilt using rod for the main pipe, plastic tubing for the muffler, and brass rod for the tail pipe. The spokes on two of the four wheels were also badly out of alignment, so the wheels were replaced with a pair from a second kit I had on hand.
Overall, this was not a great kit but it was a fun build and I enjoyed working on it. It was a nice chance to try some new techniques and build something totally different from what I usually do. I will likely keep this project "open," adding miscellaneous bits and pieces to the rear deck as I find/make them.