Original Kit:
'68 Dodge Charger
Made By:
Revell (kit #85-4202)
Scale:
1/25

eBayPartner Affiliate Link
Other Fast & Furious Models
Other 2010s Movie Models
Other Charger Models
Furious 7 Maximus Charger (Review) Fast & Furious ‘70 Charger Dukes of Hazzard Undercover General "City Slicker" ‘69 Charger
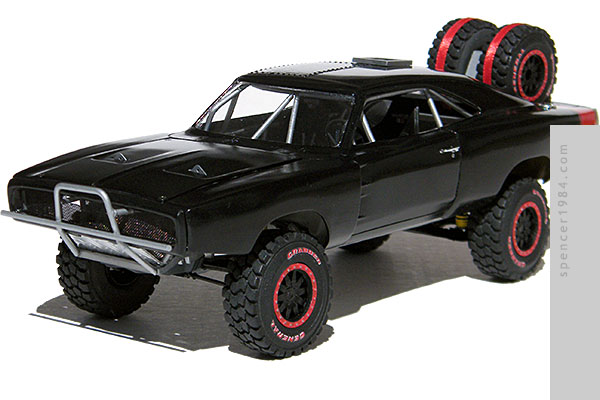
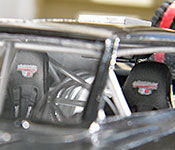
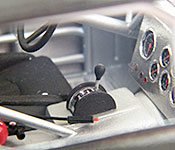
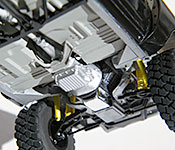
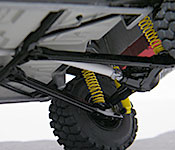
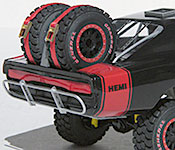
The last time I ended up with a model with so few original parts left was probably the Furious 6 Charger I finished around this time last year. Like that, there is almost nothing that hasn't been reworked or completely fabricated for this build.
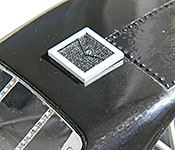
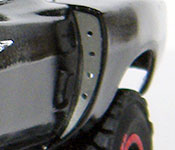
Once again I started with the body work, this time using a Revell '68 Charger as a base. The front and rear fenders were both widened by grafting pieces of a second Charger onto them, bending and reforming them to provide the correct contours. A strip of .020" x .080" Evergreen styrene was added to the top of each rear fender and blended into the fender extensions to recreate the grafted-on look of the movie car. I then removed the wing windows, enlarged the fender openings, and cut out the center section of the trunk. The rear fascia was replaced with a spare '69 piece from my parts box, and the front bumper is another resin copy of the Revell part. The roof parachute hatch was made from angled stock, with a chute cover made from gaffer's tape. The access hatch was a piece of metal tape, with the rivets made using a pounce wheel. Once mods were done, I painted the tail red, masked off the stripe, and painted the rest of the body semi-gloss black.
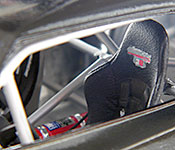
Rather than modify a Revell chassis or interior, I opted to use a full NASCAR chassis. AMT's mid-1990s Pontiac turned out to be a good starting point, as was the correct width and lacked any cast-in roll cage padding. The wheelbase was ¼" too short, though, so I lengthened it by adding plastic to the front foot wells and transmission hump. The way the cage was made allowed it to be slid forward on the chassis, and I could easily make up the now too-short rear bars with .062" round styrene. I also made a few other modifications to better match the movie car, such as the inverted "V" behind the windshield and the rearrangement of bars to allow for a passenger's seat. The only thing that I wish I had done differently was the "A" pillar bars, which I should have cut and reshaped to be flatter. Unfortunately, I did not notice the problem until after the body was in place, and at that point it was too late to change things. The gauge cluster and shifter were scratch built, with gauges I found online and resized using Photoshop. The fire extinguisher was part of the NASCAR kit, but I modified it to look like a hand-held unit. The seats were taken from a Maisto Jaguar diecast, as they were the closest things to the Mastercraft 3Gs used in the movie. A little bit of cleanup and some custom decals printed by Fireball Modelworks were all they really needed.
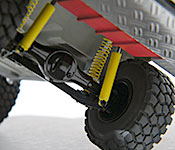
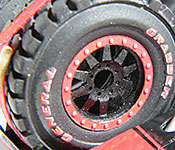
To get the correct ride height, I combined a few different techniques. The long trailing arms in the NASCAR kit could be repositioned to create the taller stance, but the front suspension had to be replaced altogether with parts from a Revell Donk kit. To add a little rigidity, three of the four shock absorbers are full-length stainless steel rod, with tubes and ends attached to make them look correct. the fourth shock was allowed to travel before it was glued, and the car was placed on a glass surface while that corner dried to ensure all four wheels would touch the ground. The springs were made from craft wire, and the brakes came from a Viper kit. Tires came from B-N-L Resins, with decals printed by Fireball (white) and me (red). There was nothing even remotely close to the movie car's 8-lug, 10-spoke wheels with beadlocks, so I drew up my own using Google's SketchUp and had them printed at Shapeways using their Frosted Ultra Detail plastic. It took some carving to get them to fit the B-N-L Grabbers, but the result was well worth the effort.
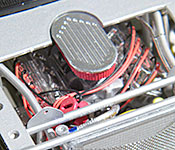
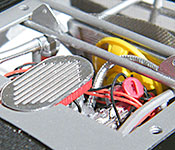
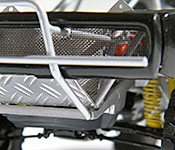
As with my Fast 5 Charger, I went with a 500cid top fuel engine to give this the kick it needed. I used more of the engine this time, though, including the dual mechanical distributors and the deep oil pan (which necessitated a slight reshaping of the lower crossmember). The movie car had everything under the hood, though, so the supercharger was replaced with dual quads and a parts box air cleaner. The front cover, water pump, power steering pump, radiator, and belt assembly were all modified parts box items. The exhausts were scratch built from .080" rod and aluminum tubing, dumping just behind the front tires as they did on the movie car. Everything was wired and plumbed, with details like color-coded ignition wires, braided sleeving over the radiator and oil lines, carburetor linkage, and a protective mesh over the front of the radiator. The engine was mated to a 727 transmission from Morgan Automotive Detailing, with parts box driveshafts finishing the drivetrain.
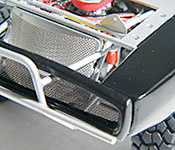
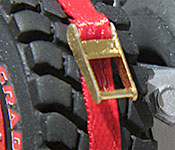
Thanks to the exposed nature of this car, several details had to be added once all of the major components were together. These included the front and rear bumpers, skid pans, the dress panel and lift bar/hooks under the hood, the front fender outlets, the rear window and braces, and the spare tires. Other than the spares, these were all scratch built since they all needed to be custom fit to the assembled car. The spares were prepped much like the mounted wheels, but the lug holes were drilled out on these. The safety straps were made from craft ribbon, with scratchbuilt ratchets. The final detail was the dummy taillight panel, which was cut from reflective safety tape.