Original Kit:
Ghostbusters Ecto-1
Made By:
Polar Lights (kit #06812)
Scale:
1/25

eBayPartner Affiliate Link
Other Paranormal Models
Other Video Game Models
Other Cadillac Models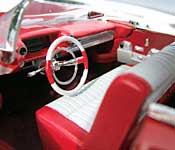
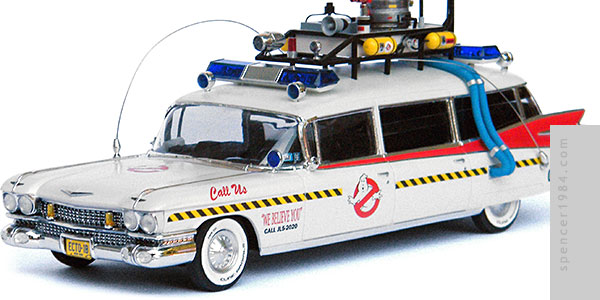

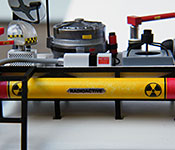
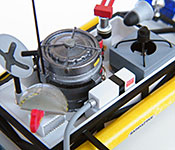
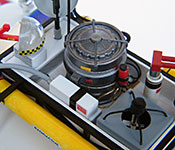
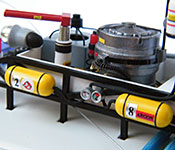
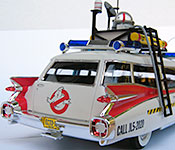
Although the finished model isn't as outrageous as the Ecto-1A, the Ecto-1B required more work than any other Ectomobile I've built to date. This was primarily thanks to the game artists not needing to work with an actual car, so they could take some liberties here & there.
I started with the interior this time, knowing that I was going to have to work my way out from the middle if I wanted everything to fit together in the end. The rear cargo area had a different arrangement than the actual 1:1 Miller-Meteor, with the split-level floor extending all the way back to the rear door rather than just having a lower footwell between the rear seats. To recreate this, I cut out the existing floor and made a new one from sheet styrene. The equipment and cabinets along the sides of the interior were similarly modified, with just about everything being rebuilt. The new low floor meant the jump seats wouldn't work any more, so I made new ones from Ratchet's leftovers mounted on wire seat frames. The updated computer, radios, and radar gun were taken from Revell's Chevy Caprice. The rest of the interior details were scratchbuilt from styrene and wire, getting as close to the video game model as possible but having to work within the constrains of the model's space. Custom decals were used for the dash labels and the silver box on the seat partition.
Lowering the floor cut into the chassis, so I had to remove some material above and around the rear axle. There was no way to really "fix" this, but by rotating the gas tank 180° and doing a little creative reconstruction I was able to put together a new section of chassis that looked pretty close to what I removed. I also needed to make new wheels, since the game uses a set that never existed. As with the Furious 7 off-road Charger, I drew these in SketchUp and had them printed at Shapeways in their Frosted Extreme Detail plastic. They ended up being a little small for the kit-supplied tires, but fit AMT's good old Firestone skinnies nicely. I painted the wheels chrome, the tire sidewalls flat white, and added a set of custom screen-accurate decals.
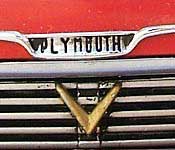
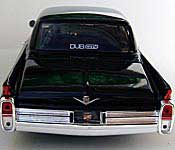
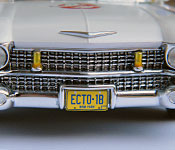
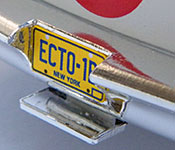
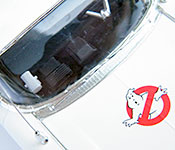
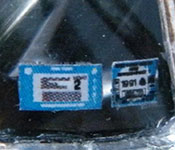
The body was by far the least modified part of this whole build. I filled the gap between the fins and fenders and drilled out the headlights, as is SOP with these kits. I also notched out the rear bumper for the single step, as I did with the first car. The glass was once again a combination of parts from the -1 and -1A kits. The body was painted Tamiya Pure White and Italian Red, with extensive BMF work. I also added a hood "V" from a Danbury Mint diecast and mirrors from The Modelhaus to complete the Cadillac's chrome. Lights were colored with Sharpies and mounted as per the kit's locator points. The unique -1B markings are all custom art I drew up in Illustrator and printed on to clear stock. The license plates and windshield stickers were done much the same way, but printed onto opaque paper rather than waterslide decal stock.
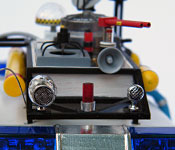
As with the Ecto-1, this roof rack is entirely scratchbuilt from 0.060" square styrene stock with a basswood box. Even less of the original kit made it to the finished model this time, though, with the chrome siren and blue conduit hoses being the only parts that survived unmodified. The secondary siren is from my parts box, the red strobe light is made from red sprue, the fan box is made from styrene and wire, the sniffer is made from plastic and aluminum tubing, the ladder was made from more 0.060" square stock, and the rest of the boxes and tanks were made from miscellaneous styrene. The antenna were made from guitar wire, while the hose was made from heftier stainless steel rod. I removed the mounting pin from the clear radar dish so that it looked a little more on-model. The satellite dish is quite a bit smaller than what was mounted on the -1A, and finding a suitable starting point was tricky. I finally found some metal button covers in the craft store that worked great: they just needed to be cut in half and sanded down a little bit to replicate the perfect compact dish size and shape. It was then mounted on a scratchbuilt tower.
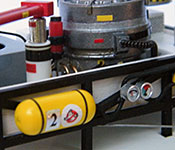
The final detail of the build was the Super Slammer Muon trap. In true Hollywood fashion, this was made by taking a bunch of scrap bits from my parts box and piling them together until they looked suitably technical.