Original Kit:
'68 Dodge Charger
Made By:
Revell (kit #85-4202)
Scale:
1/25

eBayPartner Affiliate Link
Other Fast & Furious Models
Other 2010s Movie Models
Other Charger Models
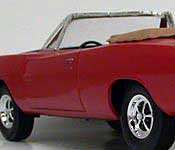
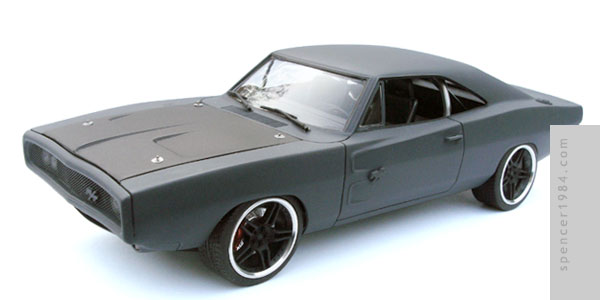
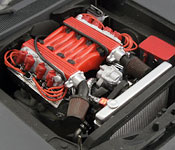
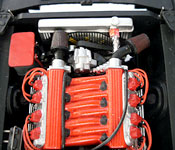
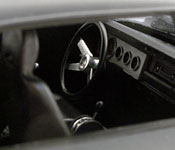
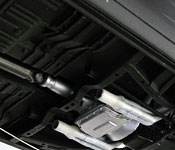
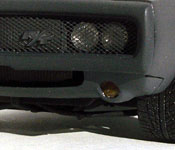
The Fast & Furious franchise doesn't look like it will be slowing down any time soon, but it's been a while since the official Chargers were available at retail. So with secondary market prices climbing and reissues unlikely, I decided to take the initiative and figure out a way to keep building them. My solution was to make a resin copy of the '70 grille to update Revell's styrene kits. This was my first trial, using their '68 Charger 2-in-1 kit.
My first task was to flare the front fenders out to match the wider '70 bumper. I used Bondo glazing putty, Tamiya spot putty, and superglue to add material, then used a second copy of the grille as a guide for reshaping. With this task complete, I then shaved off the leading edge of the hood and grafted the front splash pan into place. Finally, I swapped the rear valence with a spare '69 part that I had on hand.
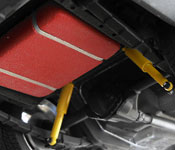
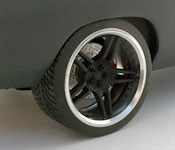
Underneath, I removed the cast-in fuel tank and brake lines. I made a new fuel cell out of a craft block that was reshaped and then textured with Krylon Make it Suede. Tank straps were made from strips of an aluminum soda can and new brake lines were made from guitar string. New shock absorbers were built from styrene and aluminum tubing. The wheels are custom parts, made from Pegasus tires/aluminum sleeves and Hobby Design centers and mounted over Fujimi disc brakes.
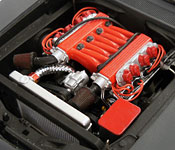
We never got to see the engine in Fast 5, though it was clearly potent enough to win races without the exposed supercharger. I took this as an open invitation, and so I swapped out the stock 426 for a 500 c.i.d. top fuel Hemi engine. I then cut the last two rows off of the intake plenum from AMT's Viper RT/10, and mated the modified piece to the top of the block. The front cover and belt assembly also came from the Viper. The K&N air filters are resin parts from Scale Dreams, the headers were from the '68 Charger, the coil packs were from Revell's '97 Corvette, and the starter was from my parts box. I had to cut a notch in the oil pan to fit around the front axle, but otherwise this monster *just* fit into the stock engine bay (though I did have to lose the brake booster - Dom will just have to use a little extra muscle to slow down). The radiator core was from the '68 Charger, but I made new tanks and added a Detail Master electric fan. I also scratchbuilt the Optima Red Top battery and added hood pins made from sewing needles.
I changed the interior to "race spec" by leaving out the back seat (finally: a chance to use the rear brace Revell provided for this area!), filling in the rear dash, and making plain door panels out of sheet styrene. The dashboard got a new gauge cluster from a Monogram stock car, and the seats were taken from an Aoshima Nissan Skyline. The steering wheel and shifter were scratch built. The roll bar was an optional part in the kit, but I removed the fire extinguisher and added the diagonal braces.
With all of the major assemblies complete, it was time for me to make the single biggest mistake I made during this build. It was especially dumb since I've built this car before, so I really have no excuse. Long story short, the front splash pan has to go on *after* the chassis is in place. There's literally no way to get the chassis in if this part is in the way, and I had not only glued it in place, but added filler and paint on top of it. I had no choice but to take a razor saw to my 99% finished body and slice off the splash pan. Damage was minimal, and I followed the split lines found on the 1:1 car, but you can still see some scars from this late surgery.
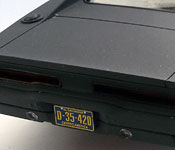
Finished cursing at myself, and with all the major components assembled, I added the final details. The grille was made of the same mesh I used on the Fast & Furious Charger, headlights were from my parts box, and the rear bumper is from one of the diecast '70 Chargers (with a screen-accurate license plate). Despite its limited screen time, the Charger had and lost the wipers and side view mirror from scene to scene. I split the difference, adding the wipers but leaving off the mirror.