Original Kit:
Rumble Rider Toyota Pickup
Made By:
Revell (kit #6201)
Scale:
1/25

eBayPartner Affiliate Link
Other Pixar Models
Other 1990s Movie Models
Other 2000s Movie Models
Other 2010s Movie Models
Other 2020s Movie Models
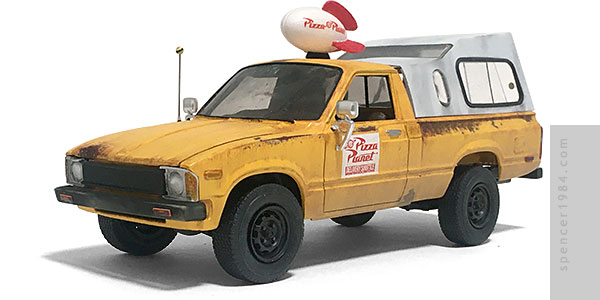
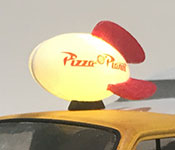
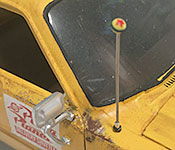
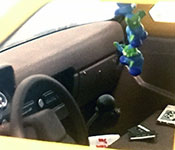
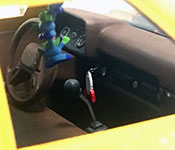
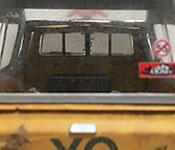
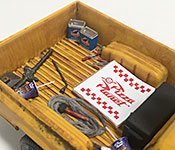
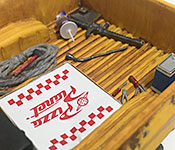
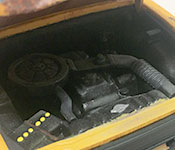
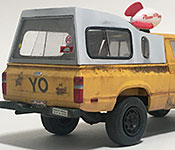
Much like the Enforcer, I found the base kit for this at a garage sale for less than a buck. It was the old Revell "Rumble Rider" Toyota pickup, assembled but (mostly) unpainted with a broken wheel and missing rear seat. Perfect for what I needed.
I started by disassembling the truck, which turned out to be surprisingly easy for a Snap kit - the only breaks I encountered were the other three wheels. Once apart, I gave everything but the glass a good cleaning (the patina on the glass would have just had to be done again, so I saved a step by keeping it original).
While the base truck was good, and it had the bonus of being a 2WD, there were two major factors working against it. The first was the box length: Revell had modeled the long wheelbase Hilux, but in everything except Monsters University it was depicted as a SWB truck. I sliced the box ahead of and behind the wheel opening, then near each end, and brought the pieces together to fix the body. I also added a dent to the hood, as was shown in Toy Story 2. To do this, I made a foil copy of the forward right quadrant of the hood, cut out the plastic, and glued my foil in place. Once it was set I added the dent, then backed it with two-part epoxy to make it permanent.
Inside was the second major problem with this kit acting as the Gyoza Lite Hauler: it had bucket seats, while every movie that showed the interior had a bench seat. I carved out the buckets and center console, then made a new bench seat by cutting a bottom and back from 0.080" (2mm) sheet styrene then layering it with paper towel to create a rounded pad and masking tape to hold everything together and give it the right texture. I also replaced the "Wand of Power" (shift lever) with a straight pin and scratch built boot, and the steering wheel with one from AMT's Datsun Z and scratch built center pad.
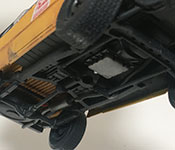
The chassis needed similar surgery to the body, being shortened between the cab and axle and again at the rear. This was a little trickier because it involved removing the gas tank and exhaust pipe, then rebuilding the frame rails and crossmembers. The frame was repaired with styrene stock and a little filler, and the exhaust pipe was made from aluminum tubing. Only the bottom half of the muffler was cast in the kit, so I added a half round of styrene to make it whole. I repaired the broken axle that it had when I bought it, then replaced the wheels with the same Fujimi steelies and parts box tires I used on Walky's Ram. The engine had been painted by the model's prevous owner, so I just added a little extra paint to the top of the battery but otherwise left it alone.
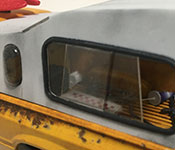
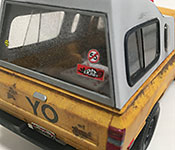
A few other details were needed to get it closer to the standard look of the Yo: up front I shaved off the grille gaurd and made new parking lights in the bumper, replaced the distictive Toyota grille with a straight bar grille, drilled out the buckets and added parts box headlights, and damaged the right surround to match the hood. Sideview mirrors came from Moebius' Ford pickup. In the back, I filled the stock fuel fill and added my own, added the extra side marker lights, and made a new rear bumper. The rocket on the roof was a 3D printed item I drew up and had printed. To give it that extra bit of pop, I turned the spare tire into a battery box, ran wiring and an on/off switch through the chassis, and stuck an LED inside of the rocket. Finally, the rear cap was scratch built from 0.040" (1mm) and 0.020" (0.5mm) sheet styrene. Half-round was used for the large window gaskets; flat clear stock was used for the top, rear, and sliding windows; and the smaller bubble windows were made from pill blisters out of a package of Benadryl.
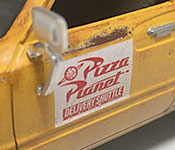
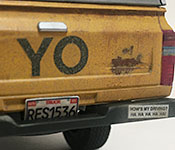
The paint was done by starting with a layer of red oxide primer, then applying water and salt wherever I wanted rust. I then painted it with a light coat of white primer followed by TS-47 Chrome Yellow. Popping off the salt left me with a nice patchy rust look, which I further enhanced with AK Interactive's Rust Streaks and Tamiya weathering effects. Further weathering was done with paints, pastels, chalk, and more weathering effects. I tried to avoid true "black" to prevent anything from looking too new: the gaskets were painted dark gray, the tires were lightly dusted with several shades of gray, and the grille was done with TS-63 Nato Black. Inside, the seat, dash, and door panels were painted TS-69 linoleum Deck Brown and the floor and firewall were painted dark gray. The inside of the cap was done in light gray to give it a little extra shading, while the outside was finished in white primer. My own custom decals were used for the bumper stickers, "YO" on the tailgate, and Pizza Planet markings on the doors and roof rocket. A shot of Dullcote sealed everything and knocked down any accidental shiny spots.
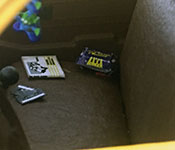
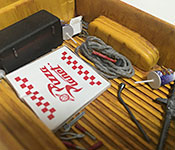
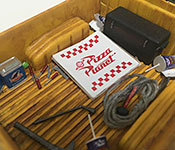
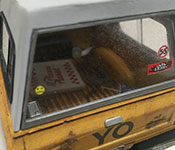
Finally, the extensive debris and Easter eggs befitting a Pixar project. Inside, I made the rocket key fob, burger boxes, drink cups, some crumpled paper, a Chinese take-out carton, soda cans, audiocassettes, and the Gyoza Lite Hauler Mk.VII owner's manual. The trio of aliens hanging from the rear view mirror were made from beads and styrene, then attached to a parts box mirror with a single strand of fine wire. The antenna topper was a straight pin with a ball head, painted to look like the Pixar Ball. In the back of the truck, many of those were repeated along with a pizza box and the tennis ball shown bouncing around after Woody's ride in the first Toy Story. I also added the tool box from that scene, taken from AMT's '34 Ford pickup. The bed still felt a little empty, so I added several tools and a couple of oil cans from Fujimi's Garage & Tools kit, the latter sporting cusom Dinoco labels. There's also a length of rope and a bumper jack from Replicas & Minatures of Maryland. Finally feeling that there was enough "junk" to look appropriate, I finished of the build with a custom "RES15236" license plate.