Original Kit:
2014 Corvette Stingray
Made By:
Revell (kit #85-1982)
Scale:
1/25

eBayPartner Affiliate Link
Other Corvette Models
Other 2010s Movie Models
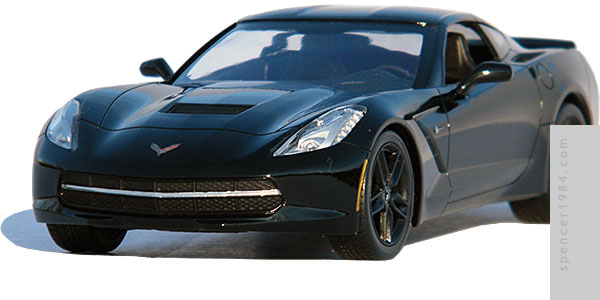
I knew I was going to have to get a replica of Black Widow's triple black C7 as soon as it rolled onto the screen, and when Revell announced that they were going to be adding a 2014 Corvette to their SnapTite series I was sold. Their Build & Play models were surprisingly well done, and so I was looking forward to trying out one of the "next level" kits. It didn't disappoint.
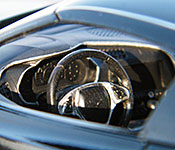
The interior was mostly left bare plastic, as it had colors and textures that pretty closely matched the 1:1 Corvette. Like their glue-together kits, it was designed with separate side panels for better detailing. Some silver paint, BMF, and the kit-supplied gauge cluster were all that it needed.
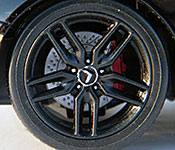
The "chrome" sprue was actually painted silver, which included the wheels. Since Natasha's ride had blackout wheels, I repainted these flat black followed by a shot of Testors' Transparent Black Window Tint to get the right sheen. They look good, but are delicate enough that I nearly broke one rear getting it onto the axle. Tires are generic low profiles, and although it's not obvious they only fit on the wheel one way: put them on wrong, and the sidewall looks like a disaster. They should be mounted so that the narrow tread grooves are towards the inside. The brakes were undetailed discs, so I swapped them out for a set of cross-drilled Brembos that I had in my parts box. The chassis was left unpainted.
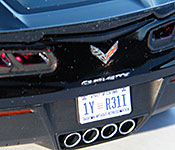
I painted the body Tamiya TS-14 Black under TS-13 Clear, then gave it a light polishing. The window frames, grille, vents, taillight surrounds, and rear valence were painted flat black, the marker lights were painted stop light red and turn signal amber, the hubs and emblems were painted aluminum, and the grille bar was finished with a strip of BMF. Stickers were provided for the crossed flag and Stingray emblems, but I only used the flags after trimming away the excess material. There was no way to do the same with the Stingrays, which is too bad because they weren't very sharply defined. The "Corvette" on the rear fascia wasn't very sharp, either, but it serves the purpose.
Everything in the kit fit together very well. I was particularly impressed by the glass: it's not exactly intuitive, but after doing a couple of not-quite test fits I figured out how to get it to go in. Essentially, the side windows have to be lined up first, then you have to shove up and rearwards on the glass panel. If you do it right, the whole thing will suddenly pop into place very firmly. My headlight bucket piece didn't fit quite right out of the box, but bending up the "wings" (the tabs the actual buckets are mounted on) corrected the problem and ensured a nice tight fit for the lenses. The other cool thing Revell did was the way the body and chassis fit together: the rear of the chassis has a standard tab, but the sides and front of the chassis pan are beveled with the widest point at the top. The body has curved lips inside the rockers and air dam. When the two are mated together, the chassis fits inside the body, and the matching angles make it so the body tries to pull the chassis up. It's similar to what you see on some classic muscle car kits, but the execution here is better.
In addition to the brake swap, the only kit modifications were mirror glass (the kit provided nothing) and a screen-accurate license plate. Once again I am impressed by the work Revell did, and would definitely buy another one of these.