Original Kit:
1969 Dodge Charger R/T
Made By:
Revell-Monogram (kit #85-2546)
Scale:
1/25

eBayPartner Affiliate Link
Other 2010s TV Models
Other Charger Models
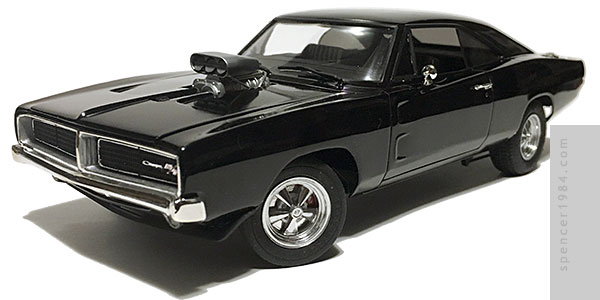


Despite being one of the few people who legitimately enjoyed Ghost Rider, I still prefer cars to bikes. The Hell Cycle is cool and all, just not something I planned to spend any time scratchbuilding. Then Agents of S.H.I.E.L.D. went with Robbie Reyes and his '69 Charger for their Ghost Rider, and I immediately started work on a companion for Lola.
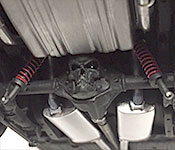
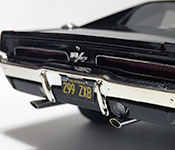
The chassis was modified to include the rear suspension risers provided in the '68 2-in-1 version of the kit, and the rear end was upgraded with scratchbuilt traction bars and coilovers as per the prop car. I also added a custom differential cover made from styrene and a resin copy of the 3¾" Ghost Rider action figure head. There's no reason for it other than the sizing looked right and I thought it would be a cool addition. The tailpipes are more of the same chrome tubing I used on the Fuzzmobile, attached to the stock kit exhaust with custom aluminum sleeves. Wheels were taken from Revell's '37 Ford Coupe Street Rod with tires from my parts box.
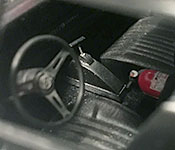
Inside, the front seats were replaced with a set of later buckets I had in my parts box, the steering wheel was a PE spider with a custom wire rim, and I added a scratchbuilt shifter, fire extinguisher, and A/C vents. Everything was then painted semigloss black with flocked floors.
The body looks mostly stock, but did need several extra details to match the show. I started with Revell's '68 body so I wouldn't have to remove the vinyl top texture or corner marker lights. I then shaved off the fender trim, modified the front bumper to remove the bumperettes, cut a hole in the hood for the supercharger, added a front spoiler from AMT's '71 Charger, and removed the trunk lid. Everything was painted Tamiya TS-14 black and clearcoated, with flat black used for the trim, wipers, and other small details. With Revell's stubborn refusal to include a second sideview mirror still going strong, I used a set of Johan repros from Modelhaus. The windows were a unique challenge: since the side windows would be visible edge-on and the openings were huge, my usual methods of laminating plastic, painting the inside of the glass, or using Tamiya Smoke were out. After doing a lot of online searching and making a few phone calls to plastics companies, I finally found a source for thin tinted plastic sheets and used those in place of the kit supplied side and rear windows.
Though a lot of work went into the whole kit, the real feature of this model is the engine. Or, more accurately, the supercharger...the rest of the engine was pretty much a detailed build of the Hemi racing option from the Revell '68 Charger with an automatic transmission from Morgan Automotive Detail and the A/C option from AMT's '71 Charger kit.
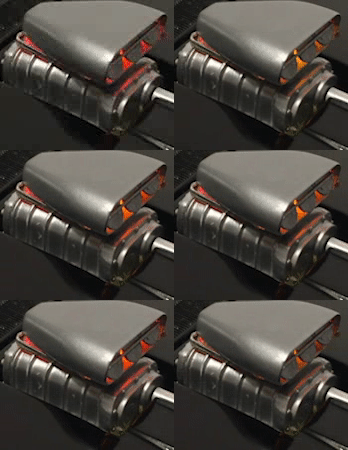
I wanted to do something to really show off the Ghost Rider's power, but as people smarter than me have pointed out, plastic flames have their limitations. Real fire moves and changes in a way that just can't be captured by a static element. Then I started thinking about what it would look like just before a "flame on," and had an idea to use LEDs to indicate the moment just before full combustion. Reyes' ride often started showing its hellfire around the top of the engine, so the blower hat seemed like the perfect place to insert some lighting effects. I ended up getting a pair of "candle flicker" LEDS—one red, one yellow—from Evil Mad Scientist and inserting them into the blower so the tips stuck through into the hat. By running the wiring through the back of the engine and firewall, then down the sides of the interior, I was able to put the battery and switch in the trunk so the rest of the model could be fully detailed with minimal intrusion on the rest of the model. The result was exactly what I wanted: a fiery glow appearing through the butterfly valves and around the seams of the supercharger indicating imminent vengeance.