Original Kit:
Ghostbusters Ecto-1A
Made By:
AMT (kit #750)
Scale:
1/25

eBayPartner Affiliate Link
Other Paranormal Models
Other 1980s Movie Models
Other Cadillac Models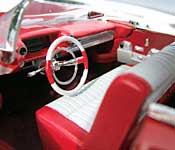
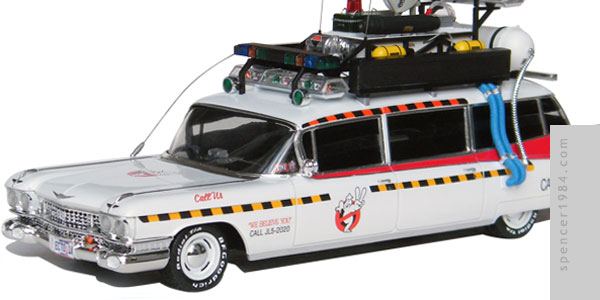
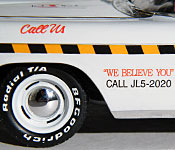
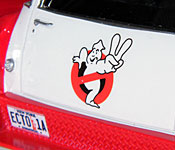
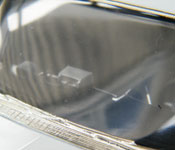
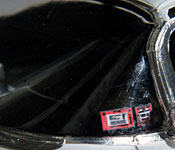
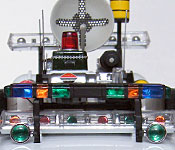
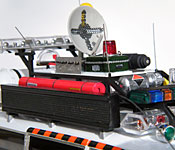
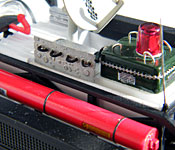
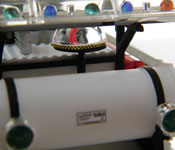
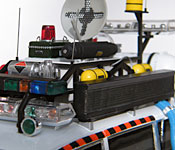
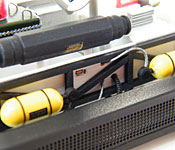
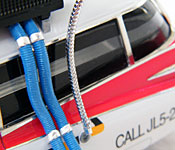
As with the original Ecto-1, the -1A was built for the 25th anniversary of the movie's release date. Also like that build, this went from box stock to fully scratchbuilt the further up I went.
Other than a tire swap for a screen-accurate set of BF Goodrich Radial T/As from my parts box, the chassis came right from the box with only basic paint detailing. The interior received only slightly more work, since the tinted windows would have rendered any superdetailing pointless. I removed the horn ring and added wires to the dash radios, used the kit-supplied decal for the computer monitor, and created printed panels for all the tech gear in the back. Everything else was a simple combination of paint and BMF. Because I was using the full glass this time (so the interior was going to be unreachable once assembled), I installed the windshield inspection and registration stickers at this point as well.
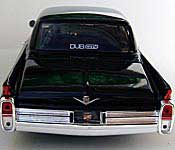
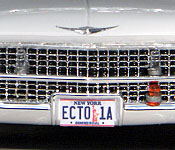
Having learned my lesson last time, the first thing I did on the body was fill in the seam between the fins and the rear fenders. That worked out much better, and the overall process went much smoother. Up front, I drilled out the headlights and replaced them with lenses from my parts box, and corrected the grille where AMT goofed on the number of lights it should have: the movie car had the two clear strobe lights in the top half of the grille and a single orange flasher on the left side of the bottom half. The kit had divots for two strobes and two flashers, spaced equally around the grille. To make the repair, I cut very short sections of wire and assembled them into the missing grille bars and bullets. It was very fiddly work—between drilling, painting, and rebuilding, the grille alone took nearly two hours to complete—but the end result was worth it. I also had to make a change on the rear bumper, as the fender tips and fin tails didn't quite line up with the body correctly. To fix this, I cut off the fin tails and replaced them with a set from a Danbury Mint diecast that I had as a parts car. The tops of the fender tips were repaired with BMF, and so the fix is nearly seamless. The rest of the trim work was done with paint, BMF, and metal taps. The stripes were all part of the kit-supplied decal sheet, but I modified the stripes above the doors by coloring them with an orange Sharpie to better match the color used in the movie. I also had to recut the stripe over the back door so that it fit properly, and used paint to touch up some of the places where the decals came up short. Finally, a set of screen-accurate "Ecto-1A" license plates were made and applied to the bumpers.
The roof carrier was much more complex on the -1A than it was on the -1, and it fit the roof well enough that I didn't want to scratchbuild the whole thing if I could avoid it...but the sides of the carrier looked awful, with half-thick rails and the two yellow tanks cast as part of the left side. I decided to compromise, and cut out the sides of the carrier while leaving the perimeter rails alone. The now missing diagonals and cross braces were made from 0.060" square stock. I added these custom pieces with the rack in place, so that I would be sure that it fit Ecto's roof correctly.
Once the customized rack had set, I painted it semi-gloss black and built a new box for it out of basswood. The floor of the box was modified from the kit-supplied part, while the ribbed panel across the back was made from corrugated styrene siding. The chrome tank, heat sinks, black tube, clear radar dish, and most of the lights were used right out of the box. The upper forward light bar came from a Motormax diecast police car. The yellow tanks, red tube, and yellow dome were all scratch built. The green and silver boxes, large satellite dish, and message boards were kit components modified with the ParaGrafix PE upgrade kit. I was originally going to use either the kit-supplied decals or the upgrade parts that came with the PE set for the boards, but then realized that since nothing on this build was lit, it would be weird to have them displaying anything. Instead, I placed a strip of semi-reflective tape behind the PE panels. This provided the right depth and just enough shininess to make it look like a grid of unlit LEDs. Once the assembly and painting were done, the equipment was detailed with kit-supplied and custom decals as well as bits of wire, guitar string, and fishing line.