Original Kit:
Ferrari 365GTB/4 Daytona Speciale
Made By:
Fujimi (kit #08102)
Scale:
1/24

eBayPartner Affiliate Link
Other 1980s TV Models
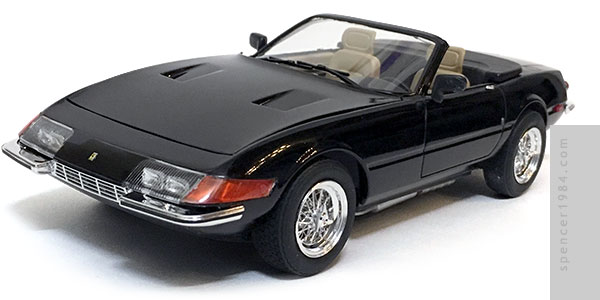
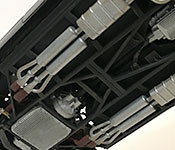
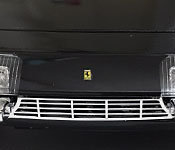
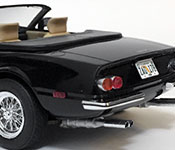
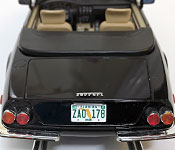
Although Revell's official Miami Vice kit was well done, it was a well-done replica of the prop car with its Corvette chassis and V8 engine. As per my established modus operandi, I prefer to build to what we were told rather than what really was...so I set the Revell kit aside for a future project and went with Fujimi's Ferrari Daytona instead.
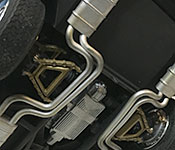
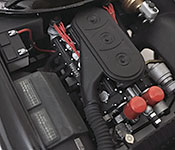
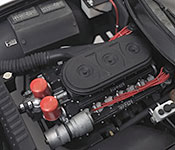
Most of the kit built up very nicely, and so I kept the chassis and engine box stock save for some basic wiring and plumbing. The only tricky part doing this was the wire looms: because of the dual bank design with tight tolerances between cylinders, regular photoetched looms would be too large to work. So I made my own by unwinding a stranded conductor wire and using a single strand for each pair of wires. It was delicate work, but the end result was well worth the effort. Paint was done as per the instructions and box art, with some light weathering in the engine bay and on the underside to show the age of the car. The wheels were the optional Borranis provided in the kit with the stock tires.
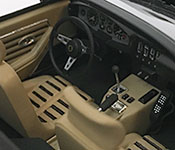
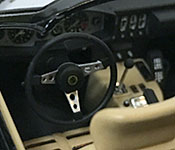
I did make a few small alterations to the interior. The first change was swapping the seats out for a set from Revell's kit, which were much better looking with some extra detail and better texturing. I also added a vintage car phone from an MPC Corvette, thinned down the steering wheel spokes, and replaced the shift lever with a straight pin. Paint was flat black and tan, with the seat and door panel lines done by hand.
The body received the most changes, as I tried to split the difference between a stock Ferrari and the prop car (figuring that, as a classic ride, Sonny Crockett had made some changes over the years to personalize it). I started by cutting out the wing windows and nose panel, replacing the latter with the optional clear panel over a set of rectangular headlights from a Monogram '86 Monte Carlo SS. Fujimi didn't provide a tonneau cover in this version of the Daytona, but the one in Revell's kit fit with only minor trimming. The sideview mirrors were taken from my parts box with glass inserts custom cut from chrome parts (also in my parts box). Several coats of Tamiya TS-14 Black over black primer, followed by clearcoat, wet sanding, and polishing, gave the body a good high gloss finish. The trim was then painted flat and satin black as per the show car. Finally, I made a new windshield out of thin plastic since the kit supplied part was designed to work with wing windows and a roof, and looked way too thick without them.
It was at this point that the trouble started. As excellent as everything had gone together up till now, the body did not want to sit on the chassis without a lot of shifting, tweaking, and general problems. Then once I finally got everything together, I discovered that the rear wheels were too far forward in their openings, and the right rear stuck out past the fender. There wasn't a whole lot of wiggle room assembling these parts, so it appears to simply be a problem with the kit. I popped off both rear wheels and modified the suspension to allow them to shift rearward and further in. That problem fixed, I ran into another one assembling the front of the car. The only locators for the front bumpers are a pair of U-shaped tabs, one on each side of the grille. There's nothing to locate the outside edges, so the only way to get them properly aligned was to use a slower setting glue with the car propped nose up, and keep making small adjustments to each side until everything looked nice and straight. Fortunately the rear bumpers and rest of the parts had much more solid locators and went together with less fighting.
Final details include a set of side markers from an AMT truck kit, parts box door handles, a custom license plate, and chrome printed Ferrari badge and door locks.