Original Kit:
1969 Dodge Daytona
Made By:
AMT (kit #38208)
Scale:
1/25

eBayPartner Affiliate Link
Other Charger Models
‘67 Charger (Review) The Philadelphia Experiment Charger Wheels of Terror Charger Furious 6 ‘69 Charger Daytona Fast & Furious ‘70 Charger Dukes of Hazzard (movie) General Lee Furious 7 ‘70 Charger Dukes of Hazzard Undercover General Collier & Co: Hot Pursuit Traveller Bullitt Charger Need for Speed ‘69 Charger (Review)
Other 2000s Movie Models
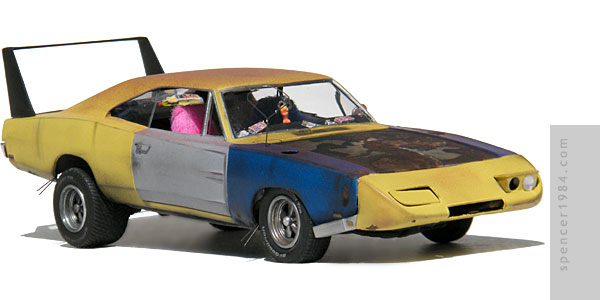
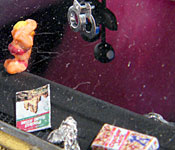
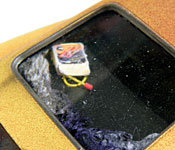
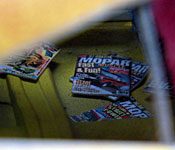
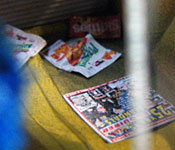
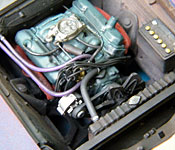
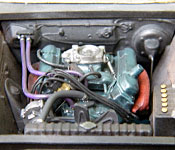
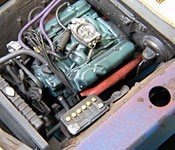
This started with the same kit as the one I used for the Furious Six Charger Daytona, but while that one was built to be as clean and slick as possible, this one had a slightly...grittier...goal.
The first thing I had to do was get rid of the kit's 426 Hemi and replace it with a basic 440 V8. The parts Charger that had previously donated bits for a custom seat and a rear fascia was able to help once again: I simply painted right over what was there, detailing it with washes and more paint to make it look like oil and gunk buildup. It was then mated to a Morgan Automotive Detail 727 transmission, also painted and weathered thoroughly. Hoses, wires, and throttle linkage were then added, and it was given one more overall dusting. The engine bay needed some filler panels where it met the body, and shock towers and forward crossmembers from Revell's kit. Everything was then painted flat black and weathered using chalks.
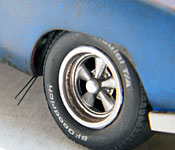
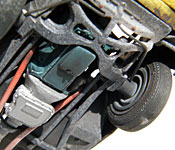
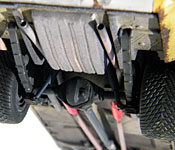
Underneath, I added filler panels around the rear of the chassis and a set of rear fender wells to make it fit the body better. I also used the rear axle and springs out of Revell's Charger. The springs were slightly longer than those in the AMT kit, so by bending them to more pronounced curves I was able to get the correct Joe Dirt ride height while still using all of the kit's mounting points. The jacked-up rear required a custom driveshaft and rear shocks, which were made from kit parts and tubing. The front end was left nearly stock, with only the addition of a scratchbuilt sway bar. The original movie prop car had a stock exhaust system, but I felt that Joe needed a set of Cherry Bombs. These were made by tapering the ends of plastic tubing and fitting them over the rod and tubing that was used for the rest of the exhaust system. Metal tape was then wrapped around the pipe at both ends of the mufflers to create the inlet and outlet tubes, and the new mufflers were painted flat red. The rest of the chassis was painted yellow with basic detailing, then heavily weathered to reflect the years of abuse suggested in the movie. The rear tires were the optional rain tires from a Revell IndyCar kit, and the fronts are from my parts box. The three "good" tires all have BF Goodrich Radial T/A decals from Fireball Modelworks and Cragar wheels from Revell's '37 Ford Street Rod.
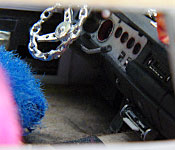
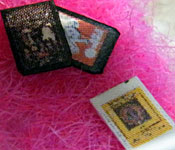
I had originally planned to use AMT's interior bucket, but the more I reviewed the movie car the less I thought it would work. So, back to the Revell donor. I cut out both door panels, scratch built the exposed innards, and reattached the arm rests/door handles and window cranks from the pieces I removed. The rear seat was left out (making this the second time I got to use the rear brace!), and the carpet texturing was sanded to look more like the exposed metal floor. Carpet underlayment was made for the front seat area by soaking thin cardboard in water and white glue, then pressing it down. This both helped it conform to shape and caused the surface to feather. The Moon bare foot pedal was a Detail Master PE item, and the brake pedal was scratch built. I used the dashboard straight from the Revell kit, adding only a decal from my parts box and a column shift made from a straight pin. The chain link steering wheel was in my parts box, but looked a little crude at first. I drilled out the links and replaced the center spider with a scratchbuilt movie-accurate design, then painted the whole thing chrome. The 8-track was carved from a block of styrene, as was the bikini girl figure on the dashboard. The handcuffs hanging from the rear view mirror were from a Fujimi police car, and the 8-balls, box of ignition wires, and wadded-up clothes were made from bits & pieces around the work bench. The rest of the floor & dashboard junk—8-track tapes, Cracker Jack boxes, Pizzeria chips bags, Skittles bag, McDonalds take-out bag, Rand McNally Road Atlas, The National Enquirer, and a few issues of Mopar Muscle—were all photos I found online and reduced to their appropriate sizes before printing them onto smooth paper stock. No exact time frames were given in the movie, so I tried to keep everything dated around the mid/late 1990s. The seats required a special approach: I found some decent (if long-haired) white fake fur at a craft store, then dyed it using pink and blue magic markers. I felt that trying to put them over true seats would have resulted in an "overstuffed chair" look, so I made dummy seats out of .040" styrene and glued the fur to them. I then trimmed the fur to a more scale-appropriate length, and sprayed them with Dullcote. This made the colors run and fill in any low spots, and while the Dullcote was still wet I "combed" the fur with a flat toothpick to get the fur to face the way I wanted it to. I'm very happy with the finished results, and will keep this in mind if I ever need to do another fuzzy seat cover.
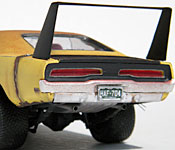
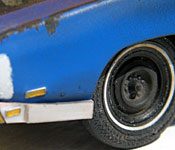
Next, it was time to tackle the body. I started by making the few needed physical changes: drilling out the openings in the tops of the front fenders, reshaping the fuel fill, removing the grille, and removing the headlights. The closed headlight is a piece of .015" styrene cut to shape and poorly aligned, while the open headlight is a box made from .015" styrene and a headlight from my parts box. I also decided to replace the lower rear fascia, as AMT's kit had a split panel and no backup lights. To do this I cut it off near the fenders, then carved a new panel from .080" styrene using Revell's kit as a guide.
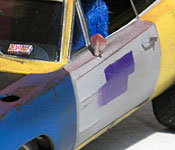
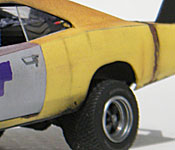
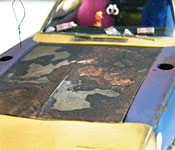
Once the body mods were done, it was time for paint. I started with a full coat of rust red, followed by a coat of gray primer on just the hood, trunk, and sides. Once that was dry I masked off the doors and sprayed the front fenders Tamiya TS-44 Brilliant Blue. More drying, then the front fenders were masked off and the rest of the car was painted Lemon Twist/Top Banana using automotive touch-up paint. As with the gray primer, these were all shot to leave the roof primarily rust red. The trunk lid and rear fascia were brush painted flat black, the wing was sprayed flat black, and the lower rear fascia and front fender/nose skirts were installed. A light dusting of rust was then sprayed onto all of the horizontal surfaces, and further patina was added using paints, chalks, charcoal, and Citadel Effects. This was my first time using these, and I was generally very happy with the results. Of the three offered by Citadel, Typhus Corrosion saw the most use here: the hood and trunk were both thoroughly covered in it, and it was used to add texture to the rockers, fender edges, and fuel slop line. Ryza Rust was drybrushed in a few minor places so as not to create too bright an effect, and Agrellan Earth was used to create rain trails in certain areas (most easily spotted on the lower rear fascia). The purple mark on the driver's door was created by stippling a brush loaded with Testor's acrylic purple, with the fade coming from the brush drying out as I was working. In addition to the Citadel Effects, I tried one other technique for the first time here. To create a "dead chrome" effect, I painted the window frames flat silver, then brushed them with powdered graphite and gave them a quick buffing. The result has a very faint metallic sheen, but for the most part looks like dull silver.
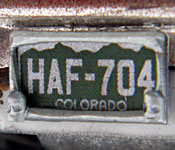
A few small but important details finished things off. The rear bumper had its bumperettes removed and was repaired with a strip of BMF, I shaved off the door handles and replaced them with a set from Fireball, the sideview mirror was taken from Revell's Charger, the exposed fuel fill is a short section of aluminum tube, the backup lights were from my parts box, the radio antenna and curb feelers were made from guitar wire, and the rear side windows were cut from .005" clear plastic. The final detail was the license plate. The plate itself was drawn in Illustrator and printed onto card stock, while the frame was carved from styrene and painted Model Master Stainless Steel.