Original Kit:
Honda Civic Coupe
Made By:
Revell (kit #86-4960)
Scale:
1/25

eBayPartner Affiliate Link
Other Fast & Furious Models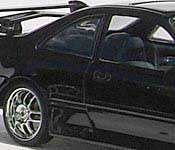
Other 2000s Movie Models
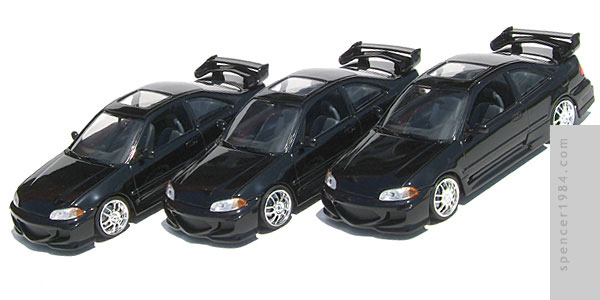

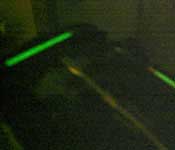
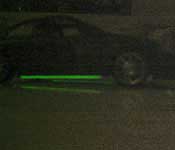
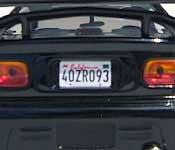
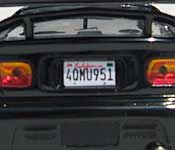
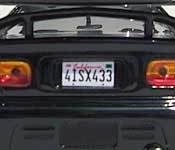
Back when the first Vin Diesel/Paul Walker Fast and the Furious came out, I bought one of the black Honda Civics, added GlowInc's Fast Zinc Glow Green to the underside, and was pretty happy with the results. The movie left theaters, was released on DVD, and eventually became "last year's movie." So, as with all licensed merchandise, stores started marking down their TF&TF stock. So I picked up another couple of Civics for cheap, thinking that it would be fun to build up the other two to make the trio as seen in the movie.
With other projects demanding more attention, these two extra kits were shelved. Eventually I took a look at the overall scope of my idea, and decided that I wanted to rebuild the first one as well building the other two. I still really like GlowInc's powder, but I felt that my application method could have been better. Cleaning off the underside of that first Civic was going to be tricky, though, so laziness won out and the project was shelved again. Fast forward to the summer of 2009, when I came across a Civic at a garage sale for $2. The body was pretty rough (broken mirrors, missing wing piece, etc.), but the chassis was intact and clean. So I bought it, disassembled it and my first Civic, and broke out the two boxed Civics to finally complete the set.
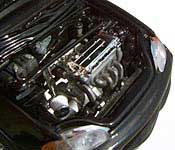
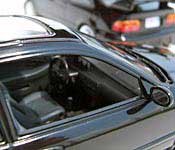
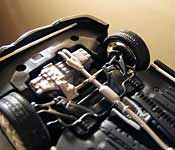
I built them in assembly-line fashion: I painted the inner fenders, window trim, floors, and interior details like the door handles, comfort controls, and third brake light. Under the hoods, I painted the engine blocks, exhaust headers, intakes, air cleaners, and other engine details with various grays and metals. The chassis were detailed with painted exhaust shields, brakes, brake lines, and suspension components. Once all of the detail work was done, the Civics were reassembled and each one got a different movie-accurate license plate.
Now came the tricky part: how to retain the glowing effect, but do it cleaner than I had previously. My solution this time was to use glass capillary tubes to represent the neon tubes. Each car would receive four tubes: the side tubes would be full-length, while the front and rear tubes would be shortened to fit behind their respective bumpers. Ideally, I should have purchased a tube cutter...as is, I ended up breaking a half dozen in the wrong places before I got enough to do the cars. Once the tubes were all at their proper lengths, I wrapped the ends with metal tape to simulate the mounts and created a plug in one end of each tube with super glue and baking soda. I then made a funnel out of a piece of paper, slowly filled each tube with glow powder, and "capped" the other end of each tube with a plug of more superglue and baking soda. It's not the quickest process, but I think it was well worth it: as shown in the second row of photos above, the chassis now looks presentable in both daylight and nighttime. The glow isn't quite as intense as it was when I painted the whole underside of the car, but it still throws out enough light to look good.