Original Kit:
Cadillac Escalade
Made By:
Revell (kit #85-2189)
Scale:
1/25

eBayPartner Affiliate Link
Other 2000s Movie Models
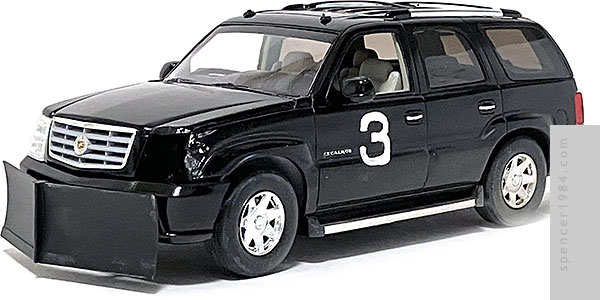
Every once in a while miss out a great movie until long after its release. Films like Baby Driver, Drive, or Edge of Tomorrow took me way too long to finally watch. Not so with Zombieland - I think I saw it twice in theaters. No, this time what I missed out on for way too long was one of the finest kits produced by Revell. Their Escalade had been out for a few years by the time Zombieland came out, but before then I didn't really have a strong need to get one. They were still readily available, though, so the next time I was at the store I grabbed one and stuck it on the shelf to get to "someday." A bit over a decade later, I figured it was finally time to get it done.
What looked at a glance like a clean but unremarkable curbside was easily on par with something from Aoshima or Fujimi. There was no flash, minimal parting seams, and everything fit together perfectly. More than once I found myself intentionally seeing how far I could push it, such as not test fitting the reverse lenses into the taillights or the three parts of each running board, but Revell came through every single time.
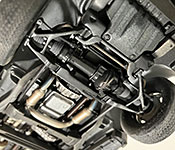
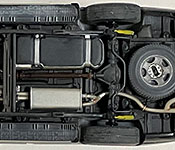
The chassis had separate pieces for the front and rear suspensions, exhaust, and a few small details. These were all assembled and painted according to reference photos I found online, then weathered to reflect the post-zombie apocalypse. My only change was to the wheels and tires, which I replaced with a set from AMT's Escalade EXT kit that I found on eBay. It wasn't a straight swap, but with some parts box brakes and custom styrene spacers I was able to get everything to work.
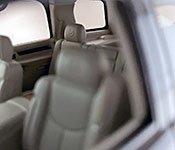
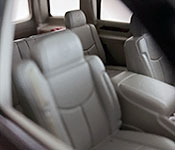
Out of the box, the only interior arrangement was front and mid buckets with a narrow bench seat in the rear (amps and oversized speakers optional). Tallahassee's Escalade only had two rows, with a bench seat behind the front buckets. I found a rear seat from a Welly Chevy Avalanche in my parts box, which was almost perfectly sized but had the wrong seat pattern and details for a Cadillac. Still, I figured I could be lazy and paint the windows full black so the error wasn't visible...but then I accidentally prepped and painted the mid row buckets thinking they were the front seats. As long I had them done this far, I figured I'd just finish the job. I sliced the Avalanche seat at the seams just inside the large pads, then cut the Revell rear buckets along the same lines. The parts lined up surprisingly well, and with a thin piece of styrene to dress up the back I now had a fully accurate Escalade bench seat. Everything was painted Model Master Light Aircraft Gray with details done using a combination of paint and the kit-supplied decals.
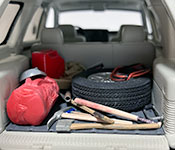
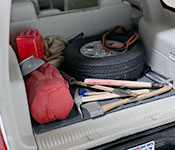
Since I no longer had a reason to black out the windows, I decided to detail up the cargo area. I started with my favorite ribbed roofing cargo mat, then added a duffel bag, gas can, extra spare tire (from the same purchase that got me the road wheels), jumper cables, tools, a tarp, and various zombie hunting gear including a bat, pitchfork, axe, shovel, pipe, and welding helmet.
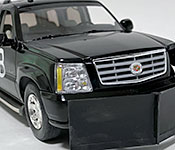
To recreate the front left damage, I opened the joint between the hood and fender, then carefully heated and bent the plastic and followed up with a little carving and sanding to make it look like crumpled metal. The bumper was a little easier - the full-sized bumper cover was cracked plastic, so I simply broke it and left the naturally occurring deformation as part of the look. Since this was a curbside kit, leaving the headlight out meant a clear view all the way back to the front of the interior bucket. I grabbed a few greebles from my parts box, painted them black, and fit them into the engine bay to act as the radiator bulkhead and engine. Finally, the plow blade was made out of the stretchers from two MPC Jeep kits and some strip styrene for the divider, wear bars, and standoffs.
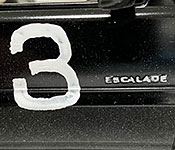
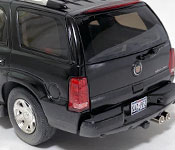
I painted the body Tamiya TS-14, then followed with several light mist coats of various grays and browns near the rockers to add weathering. The door numbers were hand painted to match their movie look, the badges were picked out with chrome paint, and the sunroof was made from a rectangle of black vinyl. Finally, a dry brushing of silver on the plow blade/fender and a custom rear license plate finished it off.