Original Kit:
Hunter's Humvee Snagger
Made By:
Revell-Monogram (kit #85-3620)
Scale:
1/25

eBayPartner Affiliate Link
Other 1990s Movie Models
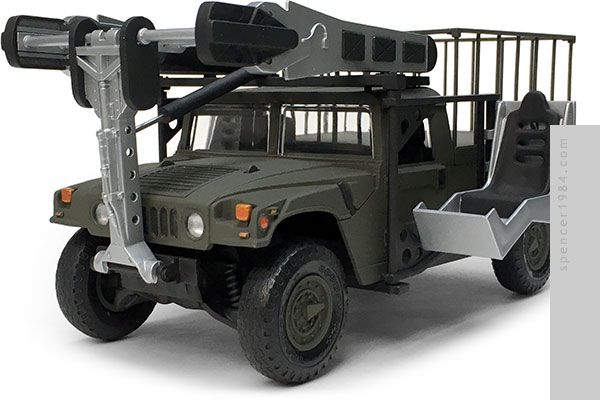
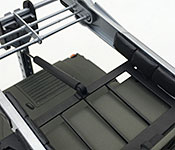
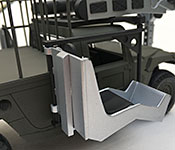
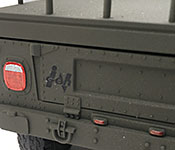
Looking for a no-fuss build while working on more involved projects, I went into this planning to build it as close to box stock as possible. For the most part that was successful, but there were a bunch of small details (and one or two large ones) that I couldn't leave alone.
First up was the wheels, a long-running weak spot of Revellogram's Hummer kits. The way that the tire and wheel flanges fit together, there's always a step where the wheel sticks out too far and ruins the whole look of the model. The most common fix for this is to relieve the tire, but getting a clean cut on that vinyl is practically impossible. I thought a better method would be to cut down the inside of the wheel, reducing the thickness of the outermost flange so that once the tire was mounted it would have a more realistic fit. While a bit more labor intensive, it worked perfectly and is something I'm going to have to do on any future builds of this kit. The rest of the chassis went together easily, including the fiddly-looking coilovers at all four corners. A bit of seam removal and some glue on a couple of the springs were all the extra effort it needed.
The interior was similarly good-but-not-quite-perfect. The biggest disappointment here was the center console, where there was a nicely detailed shift base with nothing molded to it. I fixed this by drilling a couple of holes and making the gear and range selector levers from wire and plastic. Although this was a civilian H1 (as it was in the film), the designers were clearly going for an original HMMWV vibe, so I painted it as close to "military spec" as I could.
The body was all one piece, including everything but the headlights and glass. It needed a fair bit of seam clean-up, then was painted using Krylon's Ultra Flat Camouflage Olive. The lights were painted with Pactra transparent paints: red for the rear, and a mix of amber with a dot of red for the fronts. The various details like the hood latches, fuel fill, etc. were painted Apple Barrel Matte Black. Finally, I tried something different for the grilles on the top and front of the hood: I made a set of "perforated" decals to drop into the valleys, to avoid the solid colors and messy edges that usually happen when they're simply painted. The results weren't perfect, but it was a good learning experience and something I'll be trying again on a glossier surface. The taillights were also custom decals over silver paint, and like the grilles they weren't brilliant but a good stepping stone for future projects.
Finally, it was time for the dinosaur-catching equipment. My first step was to drop everything that was chrome plated into a jar of Super Clean to get all that shiny nonsense stripped off. While those parts were soaking, I painted and assembled the cage and outrigger seats. The cage had an open-backed winch molded to it, so I filled that in with some styrene sheet. I used more styrene stock to add braces on the backs of the seats. These weren't necessarily screen-accurate, but they hid the awful mounting pins that held the seats to their backing plates. With that work done, I pulled the chrome parts from their bath and gave them a good washing. I removed the parting seams and drilled out the sides of the arm. The fork assembly was put together and painted silver. The primary hinge guides were finished with styrene stock to make up for where the parts snapped together and left ugly gaps, and a set of airbags was added inside the prongs by modifying some 1/48 scale sandbags. These additions, along with a few other details, were all painted flat black. Finally, I made a hydraulic cylinder out of styrene tubing and stainless steel rod, then mounted it between the main arm and a bracket I made for the front center of the roof rack.