Original Kit:
1970 Chevelle SS454
Made By:
AMT (kit #31640)
Scale:
1/25

eBayPartner Affiliate Link
Other Paranormal Models
Other 2000s Movie Models
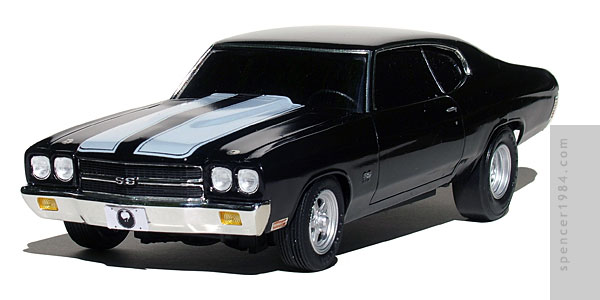
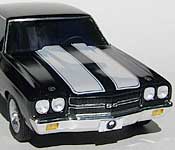
Until I built this, I didn't have a single Chevelle in my collection. I'm not sure how that happened, but at least that has now been rectified. That oversight was actually one of two reasons I built this car. The other was that I wanted a testbed for trying out some new ideas. The kit certainly wasn't much to brag about: it was an older AMT tooling released as a budget $4 kit near the end of RC2's ownership of the company, and the age and apathy were readily apparent. The parts were loaded with flash, few things fit correctly, an the general stance of the kit was wrong straight out of the box. The sole exception to this was the decals. These were some of the nicest, best-fitting, and ultra thin decals I've seen outside of aftermarket sheets.
The body and hood were put together and then sanded to correct the overall fit between the hood, nose, and fenders. Since the hood was glued on, it meant that engine detail was kept to a minimum. Chassis detail was also sacrificed, although both the front and rear axles were modified to match the movie car and correct the stance. Brakes & tires came from the parts box, and the wheels were a set of resin parts from Morgan Automotive Detail. These were actually my first "test" piece. I got the wheels from Kris a month or so before I started on this, with the intention of using them on a Talladega Nights Chevelle. But I wasn't sure how I wanted to mount them, so I tried a couple of different things here. My favorite end result was gluing a short section of tubing to the center of the wheel back, then drawing epoxy ribs up the back of each spoke from the hub to the wheel rim. The result was a really strong bond that has no problem supporting the car's weight.
My next trial was an attempt to create tinted windows using paint. I sprayed the back side of the glass used for the side and rear windows with flat black, and found that with a little effort I would be able to get a thin film that looks solid black but is indeed somewhat translucent. I ended up doing these windows opaque anyway, but the idea is something I'll keep for future projects. The body is flat black with Future brush painted over it, which worked for the most part. All of my previous uses of Future have been dips or drenches, which looked good but were pretty wasteful. Brushing it on leaves more chances for runs that need to be cleaned up later, but uses a lot less Future.
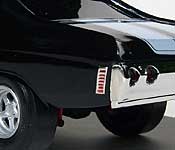
Final touches include Bare Metal Foil for the trim, signal lights, and bumper ends (to fix where they came off the sprue), a rear bumper from AMT's '72 Chevelle to match the movie car, and custom license plates. It's not my favorite build, but it gave me the chance to try a whole lot of new ideas.