Original Kit:
Zessyaka! Subaru 360 Deluxe (with Acrylic Figure Stand)
Made By:
Hasegawa (kit #SP381)
Scale:
1/24

eBayPartner Affiliate Link
Other Comic & Manga Models
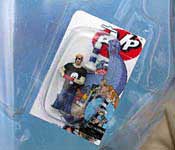
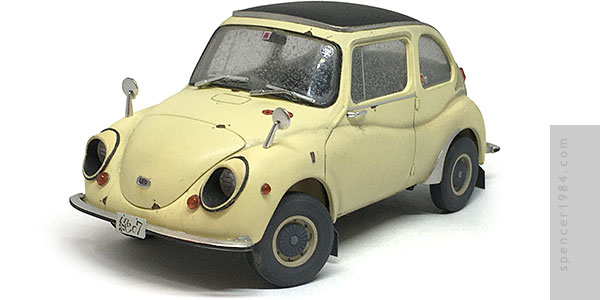
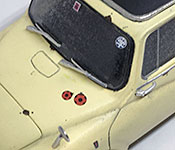
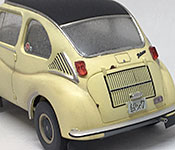
Near as I can tell, artist Sekihang likes drawing cars and girls, so one day decided "what if I made shop class a comic?" The result was Zessyaka! (occasionally spelled Zesshaka!), where the Near-Extinct Car Academic Faculty of the Yotsuwa Private Girl's Academy restores old barn finds with a bit of "slice o' life" thrown in for good measure. That was good enough for Hasegawa to reissue several of their classic car kits under the "Easy Diorama" banner, with cardboard backdrops and acrylic printed characters to help set a scene. One of the cars released was Subaru's classic Kei car, the 360 Deluxe.
Construction was pretty simple thanks to a low parts count and generally clean casting work all around. There were a few mold separation seams at the corners of the car, but otherwise the body needed very little prep work. Even re-scribing the panel lines was limited to the doors, since Hasegawa made the trunk lid and engine cover separate parts. The toughest part was getting the roof panel in place, as it needed to fit inside the windshield frame and under the rear deck, but above the rails just inside the upper door frames. The side windows were also tricky to install, since they were designed to fit into unpainted window frames and the paint made things just a little too tight (a problem I also had with Moebius' Tumbler).
Also like Moebius, I ran into a little problem with the instructions and their order of assembly. The instructions tell you to install the rear bulkhead, then the rear seat in the next step. Doing this, and relying on the bracing molded into the bulkhead, results in the bulkhead sitting at too shallow an angle. This leaves a gap between it and the rear seat, and worse prevents the body from dropping down over the chassis properly. The better way to do it is to install the rear seat, then attach the bulkhead to the back of the seat and ignore the bracing.
Despite these extra steps, most of my effort here went towards paint. The instructions recommend "Custard Yellow" from GSI Creos/Mr.Color for the main body, but since I was feeling too lazy to break out the airbrush I went with Krylon's "Meringue" instead (knowing this was going to be weathered I figured it was close enough, and hey - the dessert theme was still there). The interior floor was painted with a custom mixed dark gray-green, and the rest of the details were painted various shades of black and gray. Trim was done using a combination of paint and BMF.
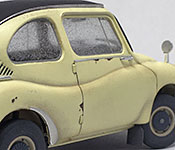
it's not too often that kits will supply "rust" decals, so I wanted to give these a shot and see how they looked. The results were surprisingly good, and so I only needed to touch up a couple of places with Citadel's Typhus Corrosion where they fell short. Other weathering was done using pastels, chalks, and Tamiya's weathering sets, with plenty of layers of Dullcote to seal everything together. The rest of the markings were also kit-supplied decals, including the tiny license plates.