Original Kit:
Freightliner Dual Axle SD & Box Trailer
Made By:
AMT (kit #620) & Revell (kit #07547)
Scale:
1/25 & 1/24

eBayPartner Affiliate Link
Other Transformers Models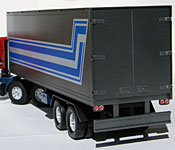
Other Comic & Manga Models
Other Cartoon & Anime Models
Other 1980s Movie Models
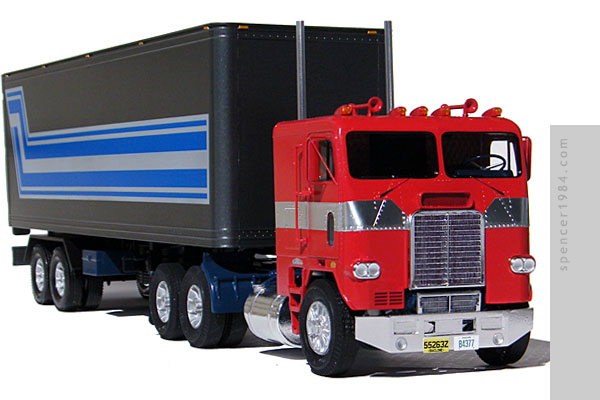

This model started its life as a gluebombed original issue Freightliner Dual Drive that I bought back in the late '90s. Like most of the Transformers models I was building at the time, I did little to add character-specific details beyond the paint job. But it was all together and I was in the process of building a trailer when an accident damaged the model and put the whole project on hold. Nearly 15 years later, I finally acquired the parts and the motivation I needed to rebuild him.
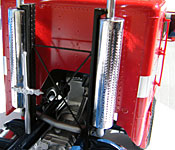
After giving everything a good washing, I assessed the damage and stripped off everything that was beyond repair. I then cleaned up the chassis and suspension, removing the seams and flash that I was too lazy or too inexperienced to fix the first time. Some parts, like the mud flap hangers and table, were too far gone and had to be scratchbuilt or sourced from my parts box. Everything was then painted with Model Master's Blue Angel Blue. The engine was in pretty sad shape, so I opted to fix what was immediately visible and glue the cab closed to hide the rest. On my first go-round, I had attached the exhaust pipes directly to the cab. This time, I took the time to properly fix them to the chassis, scratch building the header pipe and braces. I also replaced the stacks with sections of aluminum tubing, cut to match the length of the plastic parts. Finally, I replaced the front bumper with a scratchbuilt piece made to look like the original toy's bumper. The mufflers, bumper, and fuel tanks were finished in Bare Metal Foil to restore their chrome appearance.
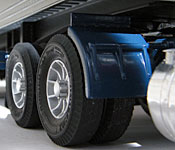
One of the standard modifications I've made on my last few TF models has been to swap the kit-supplied wheels for wheels that more closely match the original figures. I wanted Optimus Prime to feature this as well, but his didn't match any existing semi wheels (they were actually the same "large" wheels found on Hoist). Instead, I found what I needed in Ertl's 1/18 scale General Lee. Although they had two more spokes than the toy's wheels, they had the right overall look and fit the tires almost perfectly. I cast a set of 14 (10 for the cab + 4 for the trailer), and modified them to fit their respective axles. The front two wheels were sanded down so that the spokes were flat, and a hex nut from Italeri's Reefer Trailer was added to the center hub. These were then glued to the kit-supplied rims to create the full wheels. The outer rear truck wheels received scratchbuilt hubs, and the inner wheels got custom brake drums. All six outer wheels also needed new lug nuts, which I made from tiny plastic punchings (bringing the parts count up to 21 pieces for each rear wheel). They were then painted with Duplicolor Chrome to give them a polished metal look.
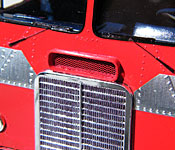
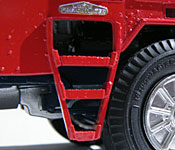
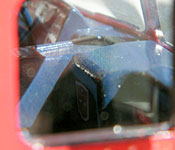
With all this now done, the only thing left to rebuild was the cab. I started by assembling the outer shell, then modifying it to better reflect the G1 figure. The first step here was the fender arches, which were curved on the stock Freightliner but angled on Optimus Prime. I glued half round stock in place to get the flares, then reshaped the body behind them. I also removed the "White Freightliner" logo from the air intake and filled in the notch to the left of the grille. Everything was then painted Tamiya Italian Red with stripes made from Matte Aluminum BMF. With the exterior essentially finished, I moved on to the interior. I needed to do it in this order because the bucket is a little big, and I wanted to make sure all of the exterior panels fit together nicely (If I had assembled and installed the interior first, the outer panels would have had ugly gaps). Once I had an idea of how it was going to fit, I removed material from the back corners under the bunk until the bucket went into place smoothly. I was able to capture the look of the original figure's interior by removing the door of the divider, painting the upper forward section red, and everything else dark blue. Other paints were used to bring out details, and a small Autobot logo from Reprolabels was centered on the dashboard.
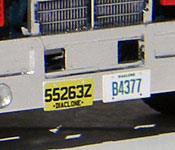
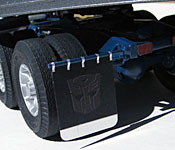
Most of the final details are modified kit components. I decided to go with the color scheme shown on the original box art. It's not prototypical to most 1/1 trucks, but those pictures were my first glimpses of the Autobot leader and nostalgia won out. I opened up the horn bells and made new mirror brackets, then painted these, the clearance lights, and the rest of the hardware red. The grille flange was removed and the edge was refinished in bright chrome BMF so that I could move it outward. The lower part of the grille was mounted directly to my new bumper, as it had been with the original bumper. A set of Diaclone-era license plates and Autobot symbol mud flaps finished off this part of the build.
This time around, I wasn't going to stop with the Brain Center. I had purchased a Revell kit for his trailer, as the proportions looked closest to Optimus Prime and it even had a set of tool boxes that were reminiscent of the folded-up support legs. I figured the slightly larger 1/24 scale would be fine (since Prime's trailer was always portrayed a bit oversized), but the scale discrepency is invisible unless you measure it with a scale ruler.
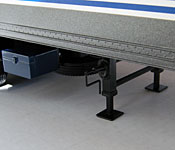
The overall assembly was basically box stock. I narrowed the pin to fit the AMT fifth wheel, omitted the rearmost tool box, made new fenders, and replaced the four outer wheels with more copies of the 1/18 General Lee wheels. The only real custom work I did was to the back door, which I made into a fold-down ramp just like the G1 trailer. The frame. suspension, and fenders were painted satin black, the wheels and tool boxes painted to match the tractor, and the box was painted Duplicolor Gunmetal. The final touch, Prime's distinctive blue and silver stripes, are custom Reprolabels items printed on matte silver stock.