Original Kit:
Ecto-1
Made By:
Polar Lights (kit #06812)
Scale:
1/25

eBayPartner Affiliate Link
Other Paranormal Models
Other 1980s Movie Models
Other Cadillac Models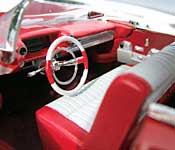
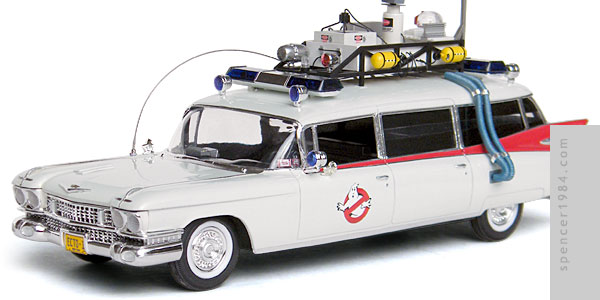
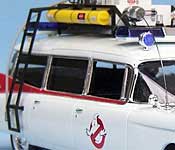

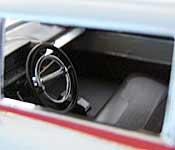
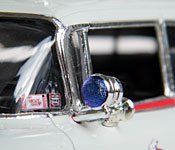
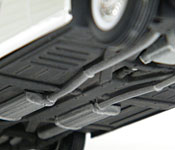
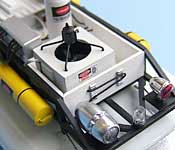
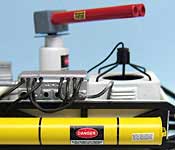
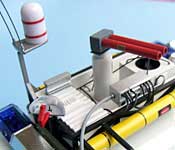
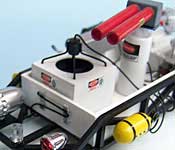
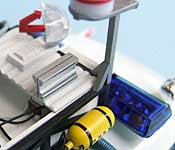
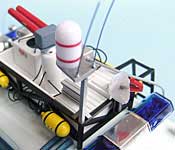
I started working on Ecto-1 in the summer of 2009 to coincide with the 25th anniversary of Ghostbusters. Since anything with body modifications easily develops into a multi-year project, I planned to keep this as close to box stock as possible. In the end, I still did quite a bit of custom work on it.
I was able to stick to my "box stock" goal for some aspects of the build: the chassis is completely unmodified, and the interior was only upgraded with more realistic gearshift and directional levers. The interior also received Bare Metal Foil and metal tape trim components.
The body started out pretty close to box stock, but when I installed the fins there were unsightly seams along the bottom edges that needed to be filled in. Adding this filler started a lengthy process that included emergency repairs, stripping, and repainting much of the car. Once I finally got the red and white painted, the whole thing was airbrushed with Future to give it a nice glossy finish. It turned out pretty good in the end, though there are still a few small scars visible if you know where to look. After giving it plenty of time to dry, BMF, tape, and paint were used to add the extensive trim.
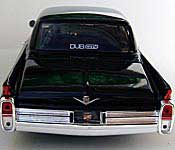
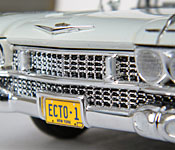
I also made a few other upgrades to the body: the rear glass was replaced with glass from AMT's Ecto-1A kit, movie-accurate louvers were added to the hood and rear door, the headlights were drilled out and replaced with parts box lenses, and the iconic hood "V" was sourced from a Revell '57 Chevy "Black Widow" kit. The grille was a bit of a challenge: the bars were too delicate to open up, and the bullets (sticking out at the intersection between every horizontal and vertical bar) made it impossible to do a wash without leaving ugly residue and/or damaging the chrome. I ended up painting each opening individually, a process that took a full hour of "paint a little rectangle, move to the right, paint a little rectangle, move to the right..." The end result was worth it, but I wouldn't recommend this technique to those who are easily bored or frustrated. Finally, I converted the rear bumper to the narrow step bumper by increasing the license plate notch to the top of the bumper, repairing the area with BMF, and making a step from a parts box license plate backer and styrene.
Even with all of this, the most work I did on this model was on the scratchbuilt roof rack. I tried using the rack supplied in the kit, and even got as far as opening up the center of the fan box. But the more I looked at it, the more I felt I could do better without the limitations of the kit manufacturing process. Using the kit parts and photos of the 1:1 for reference, I started with a rack made from .060" square styrene and a box made from basswood. These were drilled and painted, and used as the foundation to build the rest of the equipment.
The fan box was made of .020" sheet styrene, and has a separate fan, separate motor, wire mesh, and screen-accurate louvers. The ecto sniffer just behind it was modified from the kit piece and is pinned to the box so it rotates freely. The silver box across from the sniffer was made using sheet styrene and part of the dashboard face from an AMT 1989 Batmobile kit with a piece of thick wire acting as the hose. The rear shelf was modeled on the Ecto-1 restoration, complete with a scratchbuilt louvered box and heat sink. The rear radar dome was from the kit, but I carved out the mounting socket and scratchbuilt a new base, arm, and mount. Like the cannon, it is mounted on a metal pin so it can be rotated. The antenna arm is modeled after the kit part, with the platform and white dome taken directly from the kit and guitar string antennas. The tanks and storage tube mounted on the sides of the roof rack were made from .250" round styrene. All of the markings for these components were made in Illustrator and printed onto white decal paper. I added the white strobe light near the front of the rack, otherwise the lights and siren were taken directly from the kit. Because the new roof rack was based on the original kit part, I was able to use the kit-supplied connections with just a few changes: the roof locaters were detailed with square plates to mimic the mounting plates, the ladder was trimmed to fit up to the edge of the rack, and the blue conduits were hollowed out and mounted to the side and roof of the car.
A few final details finished it off: the light bars were colored using a magic marker and a strip of BMF was added to the middle of each, the antenna was made from guitar wire mounted to a bead & wire base, the door logos were used from the kit, and a set of accurate Ecto-1 license plates and New York state windshield stickers were added.