Original Kit:
Pontiac NitroBird
Made By:
MPC (kit #1-0867)
Scale:
1/25

eBayPartner Affiliate Link
Other Cartoon & Anime Models
Other Toy Models
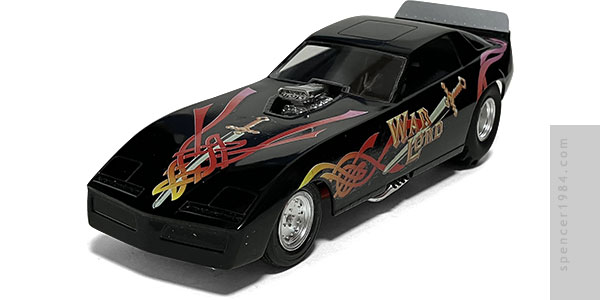
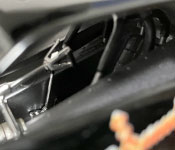
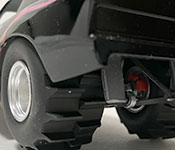
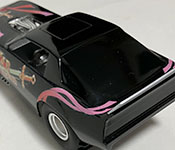
The final vehicle in the quartet of SST Muscle Machines was Dan Patrick's War Lord pulling funny car. As with Black Gold, no official kits were available and so I had to find a "close enough" starting point. I decided to use MPC's NitroBird as it was the right year, generally right body shape, and it kept things in the AMT/MPC family. Turns out, that may not have been my smartest idea.
While I genuinely enjoy older MPC kits, they often have oddities that make them a unique challenge to build. As it turns out, when it's a subject I'm highly familiar with - say, Corvettes - said challenge can be a fun stretch of my skills. When I know relatively little about the subject - as is the case here - trying to figure out what I'm supposed to do in places can be a headache. Some of the quirks found here include the tanks and steering linkage attempting to occupy the same space, the roll cage being a completely different shape than what's shown (making assembly wholly different) and the instructions being incredibly vague about several locations.
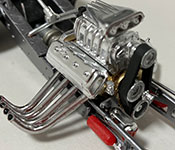
The actual quality of the kit was perfectly in line with what I'd expect from an early '80s release: some flash, a few ugly ejector pin marks, but generally decent assembly. The engine went together just fine, and included some really nice details like the rockers molded into the heads so you could leave a valve cover off and turn this into part of a garage scene. I was less impressed by the three-part blower hat, but after assembling the main halves and fixing the seam with some sanding and Bare Metal Foil, it actually looked pretty good. I trimmed the butterflies to fit in from the front rather than sandwich between the halves, and left them partially open, which I thought turned out great. As per the instructions the magneto was supposed to be mounted towards the front of the block, as you'd typically see on Hemis, but there was only one way the parts fit together and that left an obvious mount point just behind the supercharger.
The bulk of the chassis was also pretty good. There was a lot of cleanup needed on lattices, but the axles, tub, and sides all fit together great. I replaced the drive shaft with a length of aluminum tube, since what came in the kit was badly distorted. The wheels were straight out of the box, but the tires were taken from my parts box. The kit-supplied fronts were too skinny, so the wheels stuck out both sides once assembled. For the rears, I was first going to use a set of Dick Cepek tires like what came with Orange Blossom Special, but doing a test fit they looked ridiculous in the Firebird's oversize rear wheel openings. I instead went with a set of resin paddle tires, offset slightly to give them a good "mud tire" look. These required a little sanding to fit the kit-supplied wheels but looked much better with the body in place.
Trying to fit the engine was its own special challenge. It technically fit, but was pushing against so many parts of the frame at once that it refused to sit straight. I ended up relieving the front mount on the left side, then adding a shim to the right so that it would line up better. My new driveshaft fit fine, as did the rear axle, though I tapered the ends to make it easier to snap into place.
The body was a scant four pieces - shell, interior cover, windshield, and spoiler extension. The shell and cover fit together great, and the windshield looked like it would have fit great as well...if not for the tire burn that had gone better than halfway through the panel. I tried sanding and polishing it out, but there was just no way to save it and I ended up making a new windshield from clear flat stock.
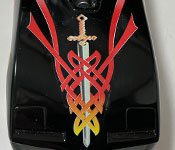
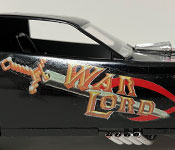
Colors were pretty straightforward, since there wasn't much here: Tamiya TS-21 Gold for the engine, TS-42 Light Gunmetal for the chassis (side note: Vic Hobby's "Burnt Iron" is a near-perfect match for TS-42 when I needed to do touch-ups), gray primer for the inside of the shell, and TS-14 Black for the body. Touching up the chrome was done using a combination of BMF and chrome paint, and the decals were drawn up to match the original as closely as possible while fitting this body.