Original Kit:
The Green Hornet The Black Beauty
Made By:
AMT (kit #1271/12)
Scale:
1/25

eBayPartner Affiliate Link
Other 1960s TV Models
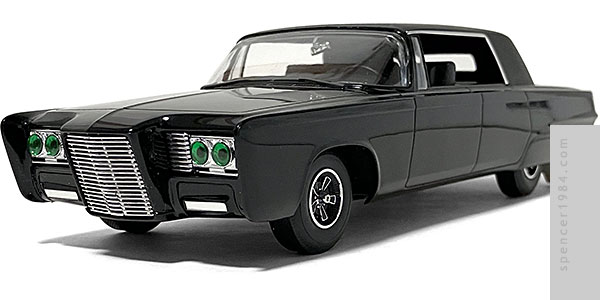
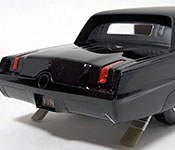
For years, if you wanted a scale replica of the Black Beauty, you really only had two options: Aurora's 1/32 scale kit, or a diecast in 1/18, 1/43, or 1/64 scale. Technically there were aftermarket resin kits from TNT and Lunar, but they were early castings and very rough by any standard. Finally, in 2023, Round 2 released an all-new kit that could be built without the hassle or compromises of the previous options.
As expected from an all-new tooling, the casting was very clean, with no flash, minimal parting lines, and smartly designed assembly seams to minimize their appearance on the finished model. It's a curbside - arguably the only shortcoming as many modelers want to include an engine in their builds - but had an abundance of optional parts for the various gadgets inside and out. Since I prefer my cars in stealth mode, I chose to build it with everything stowed and the doors closed.
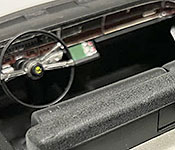
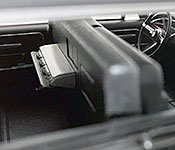
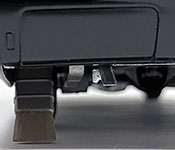
Starting with the interior, I cut off the secret door tabs as instructed so that the dash could be in the closed position. The one screen under the dash had no alternate build, so that remained, but it was mounted low enough so as to not to really stand out. I painted the carpet with a quick dusting of filler primer to give it some texture, then sprayed it with several shades of gray and black to give it an era-appropriate style. The seats were left in their cast black, and the door panels and dash were painted semigloss black. The dash face was covered in Bare Metal Foil, then painted to give it the proper wood look with chrome trim. More BMF and some chrome paint was used to detail the door panels, and various metallics were used to paint the exposed controls. the horn button and speedometer decals were provided in the kit, and fit surprisingly well with no modifications needed (I opted to not use the woodgrain dash as the four corner panels weren't included, and trying to match them would have been more trouble than simply painting everything).
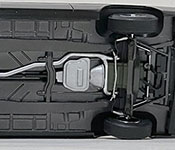
The chassis was made from two pieces: the tailpipe and everything else. I went with a dark metallic base to give it some depth, then blacks and metallics for the details. The bottom of the engine got a dark green finish in honor of its hero. Details were sharp enough to make painting easy, though personally I would've liked to have seen a few more parts. At first glance the axles look way too long, but with some careful taps the wheels seated exactly where they should. Decals were provided for the center caps and spokes, and while I used the cap decals I opted to paint the spokes. Again, the casting was sharp enough to make this a breeze. Some people have noted that the single exhaust and 14" wheels seem inaccurate for the Beauty, neither bothered me enough to replace them.
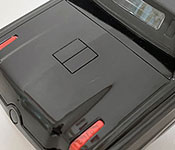
Like I did for the interior, I trimmed off all of the tabs on the body doors so they could be mounted closed. That was the only modification needed, otherwise everything fit together beautifully. I masked off the top to retain the factory color and texture, then painted the rest of the body Tamiya TS-14. I was originally planning to clearcoat it, but polish and wax were enough to provide a decent gloss finish. BMF was used for the drip rails and lower front door detail, and the grilles received a wash of Tamiya Panel Line Accent. Finally, I chose the "V 194" license plate for the rear, one of four provided by Round 2 (the others being two vintage California plates and the "Black Beauty" script plate it wore while on tour).
There were two errors I found with the instructions. The first was a mislabelling of the decals to be used for the dashboard - no big deal as long as you check the size and shape of the area before you start. The other problem was a little more serious, as they instruct the builder to place the interior on the chassis and then mount everything in the body. Doing this will almost surely cause the interior to bind up, and nothing will seat properly. Instead, mount the interior into the body and make sure it's fully seated on the two pegs near the base of the windshield, then put the chassis in. It's fiddly enough to get the chassis seated, it doesn't need any help.