Original Kit:
Lotus Europa Special
Made By:
Tamiya (kit #24212)
Scale:
1/24

eBayPartner Affiliate Link
Other Cartoon & Anime Models
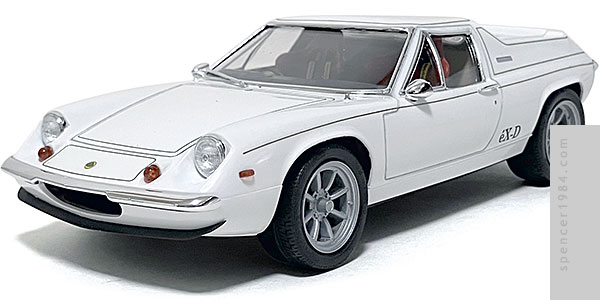
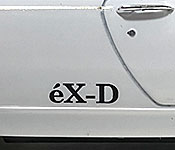
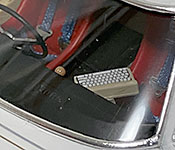
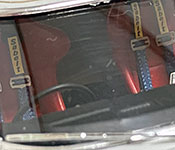
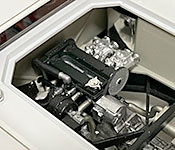
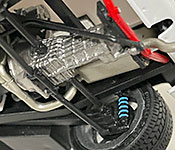
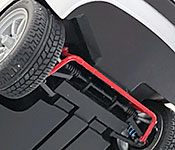
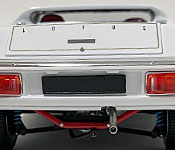
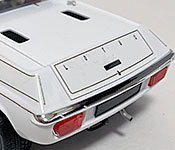
After finishing the Stratos, the next car in my eacute;X-Driver series was the Lotus Europa. Unlike the Stratos it was fully detailed including the engine, but since it was a Tamiya I figured it ought to go together pretty easily. Spoiler: it didn't.
Not that there was really much to complain about with the kit. Fit and finish was up to their usual standards, with minimal parting lines and no flash, sink marks, or malformed parts to worry about. The suspension was a particular highlight, with some great looking parts and clever assemblies to make the finished subassemblies look even more complex than they were.
My first modification was a wheel swap, replacing the stock Europa wheels with a set of 17" RS Watanabe wheels by Fujimi. Tamiya did release a version of the kit with similar wheels, but they were quite a bit smaller and the animation was pretty consistent in having larger wheels with low profile tires.
Next up were the interior mods. The dash got a modified keyboard from Revell's Caprice for Lorna's computer, and the seats were swapped out with a set of aftermarket seats from Eternity Hobby Supply with scratch built belts and photoetch buckles.
Paint was done as a combination of what was presented in the instructions and what appeared in the show (as with many shows and even more animated programs, details would frequently change from shot to shot). The chassis was done in satin black with red and blue details, the engine in various blacks and metallic shades, and the interior in several light browns and black. The body was done in TS-26 Pure White, and that's when my troubles started.
See, I've been preshading my panel lines for a bit now, and I almost always use Tamiya's Panel Line Accent Color. Diecasts are a little different, and usually get a quick panel line touch-up with a fine Gundam Marker. On this day, I decided to see how the panel line pen worked as a preshader and found out the answer was "badly." Very badly, in fact, as the markers and paint use similar enough carriers that the ink from the marker bled into the white paint. Not only were the edges no longer defined, there was an ugly swirly mess around every single one of them. My previous attempts to strip off Tamiya paints were excercises in frustration, so I chalked it up to a learning experience and picked up a second Europa kit for a new body. This time I went with my usual panel liner, and the results were much better...but the modeling gremlins weren't quite done with me yet.
The next problem came with the many, many, many (many) pinstriping decals. Normally I like decal work, and while these were perfectly good quality they were so narrow and the carrier was so thin that I had to break the process into multiple sessions across several days to get them all down. The seond Europa kit came in handy when the left rear pinstripe broke, and trying to get the two haves to meet correctly proved impossible for me.
Finally, though, the body was done. Decals and transfers on, Bare Metal around the windows, glass in place. I dropped it onto the chassis/interior, and discovered that hte new seats sat too high and hit the headliner, preventing hte body to sit correctly. Much fiddly work to ge thte body back off safely, then I tore out the seats and remounted them at a slight angle and with thebottom corners shaved off. This worked, and I was finally able to get everything together.
.