Original Kit:
Flying Bat Custom
'64 Ford Fairlane Thunderbolt
Made By:
Jimmy Flintstone (#NB84)
Revell (kit #85-2065)
Scale:
1/25

eBayPartner Affiliate Link
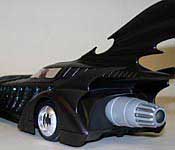
Other Batmobile Models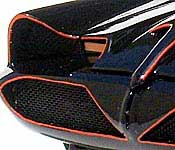
Other 1970s TV Models
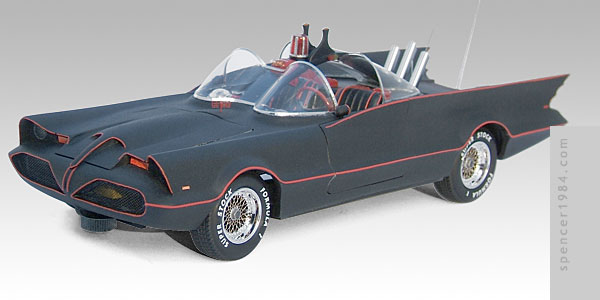
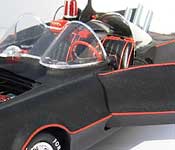
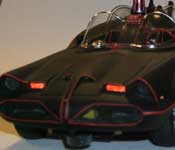
Batman made his live action return to television a decade after Batman went off the air in Legends of the Superheroes. Although forgotten by most people, this two-episode misfire was an attempt by Hanna-Barbera to capture the popularity of Superfriends in a live-action format. In addition to Batman & Robin, the producers brought back the Batmobile from the TV series.
During its time on the touring circuit, the Futura had been through a number of changes. Parts were replaced as they broke, new gadgets were added, and - most infamously - the body was covered with flocking, often referred to today as "Batfuzz." The reasons for the flocking are not totally clear. The most popular story is that it was added to hide stress cracks in the fiberglass bodies of the replicas, and that the original steel-bodied car was done to keep the look consistent. But accounts from people who worked on the cars don't always back this up. Regardless of the reasons why this was done, this time period is generally viewed by fans as the low point in the car's history. Still, it's appearance in LotS meant that the flocked Batmobile was a legitimate entry in the Batmobile timeline.
That was certainly one of my main reasons for building this model, but there was another: part of what made the car so laughable during this time was how poorly maintained it was. The gizmos were added slapdash, the general fit and finish were substandard, and anything that wasn't visible in pictures (engine, drivetrain, trunk, lower half of the interior) had deteriorated to near-junkyard quality. I wanted to see if I could retain the extra gadgets, the flocked body, and the overall late-1970s aesthetic while giving the car a little more dignity and making it more of a true "Batmobile" instead of just a rolling sideshow.
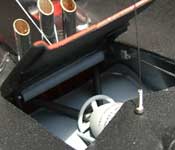
Like my first TV Batmobile, I started with a resin body. Unlike that one, though, I extensively reworked every panel. The front and rear grilles were opened, the hood scoop was opened, the doors, trunk, and fuel flap were opened, the rear dash was completely replaced, a new rear floor was added, and the overall body was thinned to make more room inside. I also had to do the usual cleanup around the headlights, hood, interior, grilles, and fins. The trunk lid was a little soft on the resin kit, so I replaced it with the lid from a Revell Futura. For the fuel flap, I cut a square hole in the body and made a door from an old aluminum can. The doors and hood are double-hinged to help work around the Futura's contours (I wanted to make sure that the doors tucked into the front fenders as they do on most 1:1 cars, not just swing away from the body like they do on most diecast cars). So that I didn't create a weak spot in the middle of the car, I epoxied stainless steel rods along the insides of the rocker panels.
Once I got past most of the body modifications, I added the chassis pan. The bulk of it was taken from a Revell '64 Ford Fairlane Thunderbolt, but the chassis had to be cut and fit to match the Futura's wheelbase and the rear half was all-new material that was integrated with the new trunk floor. The chassis also had to have plastic added to both sides to meet up with the Futura's rockers. I added extra bracing to the engine bay, both to bulk up what was there and to provide mounting points for the front suspension.
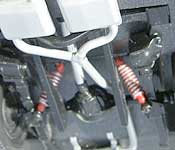
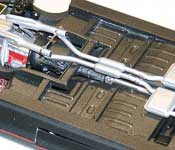
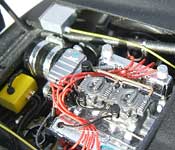
The 427 is a combination of pieces from the T-Bolt, parts box items, and a lot of scratchbuilding. This included the breathers, wires, carburetor linkage, belt, hoses, and the oversized generator. I used pulleys from Arrowhead Aluminum, and a Ford Emblem from Model Car Garage on the left valve cover. A standard radiator wouldn't fit in the Futura's low nose, so I opted for a pair of smaller radiators from Revell's Lamborghini Countach. Most of the rear suspension is made of modified components from the T-Bolt, connected to the engine with a scratchbuilt drive shaft. The "quiet" exhaust system is out of a Ford Sierra, but a set of dump pipes is there for when Batman needs a little more horsepower.
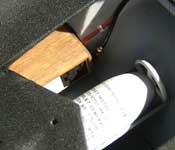
The trunk offered more opportunities for scratchbuilding. This included a vintage-correct Northstar Horizon computer, a smokescreen/oil slick canister, and a JATO rocket (just in case the 427 isn't quick enough). This was made from a marker body and some parts box items, and includes a decal I made to look like the standard military stenciling on 1:1 JATO bottles. The orange cap on the business end can be seen when viewing the finished car from behind.
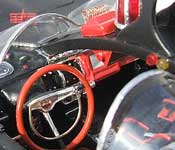
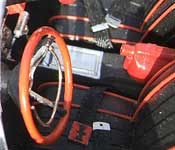
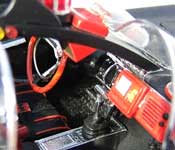
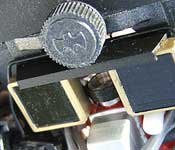
For the cockpit, I used the base dash from the Revell Futura and the center console from AMT '69 Chevelle. The seats are also from the Chevelle kit, but are modified to include new patterns, piping, and chrome backs. The steering wheel of the 1:1 was always simply referred to as an "Edsel wheel," though no mention of the exact vintage was ever made. I used one from AMT's Edsel, with a wire horn ring. All other interior details, including the door panels, gearshift, dash details, camera between the seats, and roll bar/accessories are scratchbuilt. The glass came from SidKit, and is trimmed with metal tape.
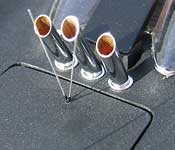
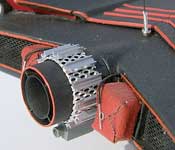
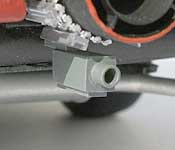
To recreate the "flocked" look, I lightly misted the car with several coats of Duplicolor filler primer. This primer has fine particles in it, and by painting the car with several mist coats it built up these particles until they were a fine, even texture. They I used Testor's flat black for the final color coat. The stripes are the same combination of Boyd's Sunburst and automotive pinstriping tape that I used on my '66, but I made them a little wider, a little fuzzier, and sprayed with a matte finish to better match the look of the 1:1. Photoetched parts were used for the grilles, cowl antenna, and door handles. The taillights, parking lights, and side marker lights were made from colored reflective safety tape, while the headlights are parts box items. The antennas were made out of stripped wire. For the exhaust, I went with the later style "double wall" design. this was made by taking two section of styrene tubing, thinning down the inner walls, and adding standoffs made from .010" stock. Once installed, I added a wrap made from splatter screen and styrene channel stock. All this is flanked by a pair of scratchbuilt parachute packs. The bat-ram (removed from the 1:1 by the late '70s, but unobtrusive enough that I felt it was safe) was made from part of a spray nozzle, styrene, and a leftover photoetched bat emblem. The mirrors are modified parts box items. Last but not least, the wheels are a set of parts box BBS wheels with standard Revell tires and Formula/Super Stock decals printed by JBOT.
This was definitely one of my more ambitious projects. About 95% of it was either scratchbuilt or so heavily modified that it might as well have been. It's also one of the few times where I have fully functional panels. It was a really fun project, though, and I got to try out a lot new ideas. The "Fuzzmobile" can now go with the rest of Batman's garage without shame.