Original Kit:
Super Bikes Kawasaki GPZ1100
Made By:
Motor Max
Scale:
1/24

eBayPartner Affiliate Link
Other Motorcycle Models
Grendizer Duke Buggy (Review) Tron Legacy Sam‘s Light Cycle The Walking Dead Chopper
Other Toy Models
Other Cartoon & Anime Models
Other Comic & Manga Models
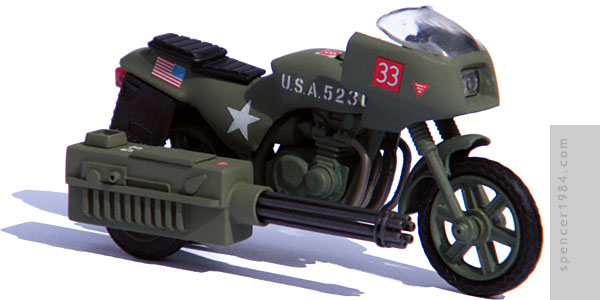
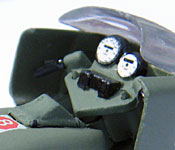
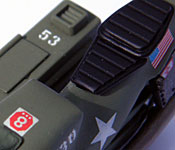
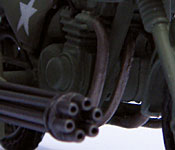
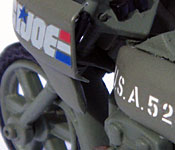
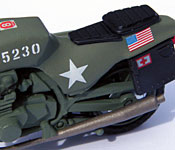
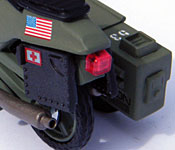
While I was working on my Indiana Jones and the Last Crusade motorcycle, I started getting into the idea of building more bikes. I liked the idea of building the RAM, but as far out of scale as it was, I was going to have to get creative. Looking through my parts stash, I found a Kawasaki GPZ1100 that looked like it would be a good starting point: it had similar lines to the RAM, including the sweep of the cowl and the route the exhaust pipes took from the engine. It even had correct six-spoke wheels!
Of course, there were also quite a few things that needed to be fixed. I made the sides of the cowl from a set of fender vents taken from AMT's '69 Charger Daytona, then moved the cowl down and forward to better match the RAM's design. The plastic used for the main body of the bike was difficult to work with, rejecting paint and filler and refusing all efforts to sand cleanly. About the only thing that stuck to it was superglue, so I covered it with a layer of that before I did anything else. The fuel tank was squared off with a wire frame, then filled and shaped. Then the saddle was glued into place and filled in, with the top surfaces cut off in preparation for the new seat pads. These were made from model railroad siding material, with beading made from wire and round styrene. The fenders were bobbed and cleaned up, and a set of hard saddle bags was added to the rear fender. These were made from parts of a Hot Wheels armored truck, and had an appropriate utilitarian look.
Some of the "wrong" details were kept because the original toy/model kit didn't make a whole lot of sense. For example, the original RAM lacked a frame: the front fork was suspended off the gas tank. It also had no rear suspension or drive train (the rear axle was mounted to the mufflers). I did try to replicate the front suspension by removing part of the original fork and replacing it with a set of shock boots made from sections of a disposable brush handle. The original drive gear and chain looked pretty bad, so I scratchbuilt a new belt drive. Finally, I removed the directionals, added spark plug wiring and a set of hand grips, and the motorcycle was done.
For the sidecar/rotary cannon, I started by making a box from sheet styrene. The sides of it were then dressed up to look like the toy using more styrene, beads, and wire. A parts box vent was added to the top rear, and the ammo/maintenance hatch was made from more styrene. The muzzle was a 6mm gatling gun part from Kotobukiya, with the barrels, axle, and barrel clamps made from styrene and wire. The tire was taken from an Ertl farm truck, mounted on a wheel made from a pair of washers and a plastic axle.
When I started gathering material for the MOBAT, I spoke to a friend who builds armor about paint for it. He recommended Model Master's SAC Bomber Green as a close approximation of the color used on the first generation M1 Abrams tank. In the interest of making the Joe vehicles look uniform, I decided to paint the RAM the same color. The only things that ended up other colors were the gun barrels (gunmetal), exhaust pipes (jet exhaust), seats/controls (black), and saddlebags (unpainted dark gray). The headlight bucket and gauge faces were printed pieces. The rest of the markings are stickers and decals from various kits. I was not able to exactly match the RAM's original markings, so I tried to come up with markings that fit the overall look & feel of the bike.